


This guide is intended to describe the steps involved in, how to Install Kali Linux 2021 with screenshots on your system. However, Kali Linux 2021, is the best choice among the Linux distributions that are available for security testing. Although, most of the security tools of Kali Linux may be installed in other Linux distributions. However, the developers of Kali Linux (Offensive Security team) has created a perfect security distribution. Additionally, Kali Linux is a Debian based distribution. Moreover, this distribution has numerous security tools pre-loaded. Now, first of all we will see the prerequisites to install Kali Linux 2021.1 on our Desktop or Laptop System.
The System Requirements for Kali Linux 2021.1 – Install
- A desktop or a Laptop computer with minimum of 20GB of hard disk space or more will be required.
- A minimum of 2GBMB RAM or more will be required on our Desktop or Laptop computer.
- A stable and fast internet connection will be required for downloading the Kali Linux installer ISO file from the Official Website.
- We will also need a blank USB or CD/DVD Disk for creation of startup or installer disk for external booting and installation of operating system.
- Of course, we will also require the downloaded Installer ISO file of Kali Linux to create the installer media.
Furthermore, download the Kali Linux Installation ISO file from the official website of Kali Linux. The link to the official website of Kali Linux is given below for the purpose.
| Official Website of Kali Linux for ISO Download |
How to Create Kali Linux 2021.1 Installer USB DISK using the downloaded ISO file
Although, for creating the installer USB Disk there are many free and open source software tools are available. If you are on Linux system, then you can also use the DD command of Linux to create the installer media without using any application tool. Moreover, it is easier to create a Startup Disk using the available application tools. There are many applications or tools available like Startup Disk Creator utility or UnetBootin startup Disk Creator utility software.
If you are using Windows 7, Windows 8 or Windows 10 then Rufus is the best alternative for creating installer media of Kali Linux. Below given are the links of the official website of Rufus startup disk creator tool and UNetbootin Disk creator utility. You can go to these websites and download the installers. The installation of these utility software is quite straight forward and easy. Install one of these utilities and create a startup disk of Kali Linux.
| Link to the Official Website of Rufus Startup Disk Creator |
Further, insert the USB installer media into the system and reboot the system. Next, set the USB Drive as the first boot device in the BIOS settings of your computer system. Further, when the system restarts the installation procedure will automatically begin.
| Link to the Official Website of UNetbootin Startup Disk Creator |
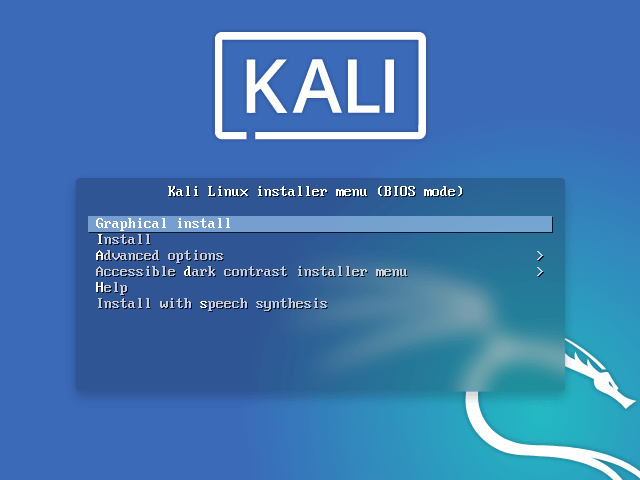
However, the first screen will be of installation menu. In this menu we will be presented with various options on installation of Kali Linux as shown in the figure below. Here we have to select the first option, that is Graphical install option. Now we have to proceed to the next step.

Language Selection
Now the installation procedure will begin. In the following screen the installer will prompt us to select the language to be used. Here select the appropriate language and click continue to proceed to the next step.


Location Selection
Then in the next step the installer will present a list of locations. Here select the appropriate location. This location will be used by the installer to set the correct time zone and the system locale. Here you should select your country. You can also choose other if your country is not listed in the list.

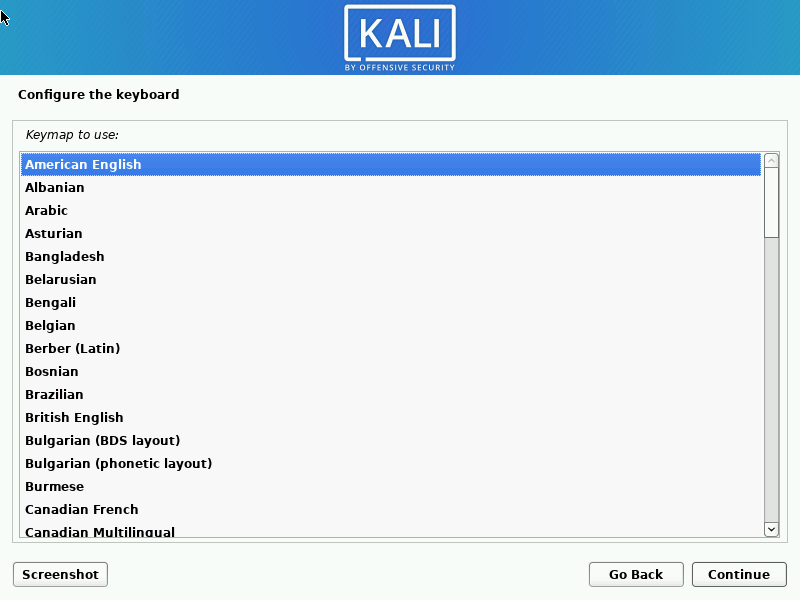
Keyboard Layout Selection
Next, the installer displays the keyboard layout selection list. In this screen select the appropriate keyboard and continue. Do remember that you can add change the selected keyboard layout after the installation of the operating system is complete.
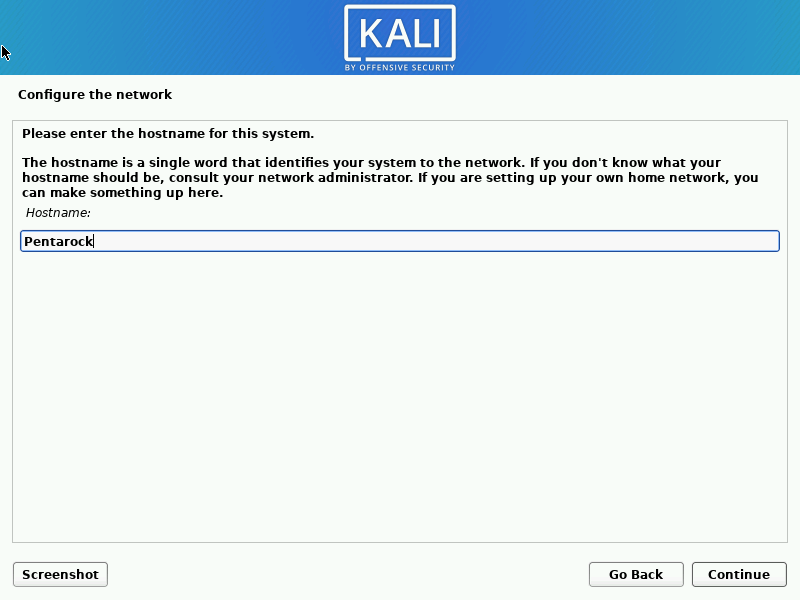
Enter the Hostname
Then you will get a screen to enter the hostname of your system. Here enter the hostname and click continue to proceed. I have entered Pentarock as the hostname in my system.
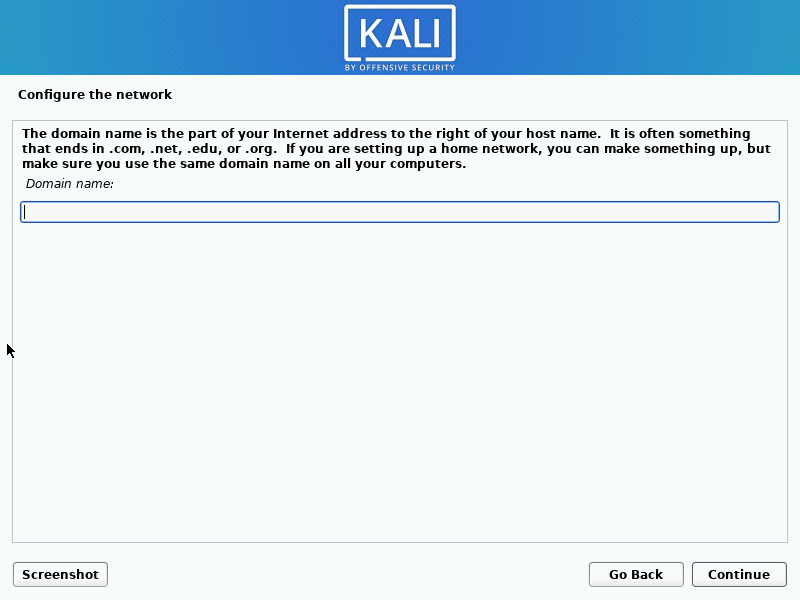
Enter the Domain Name
Next you will get the screen to enter the domain name of the system. If you do not have one you can leave it blank. If you have a domain then enter a domain name then and click continue to proceed further.
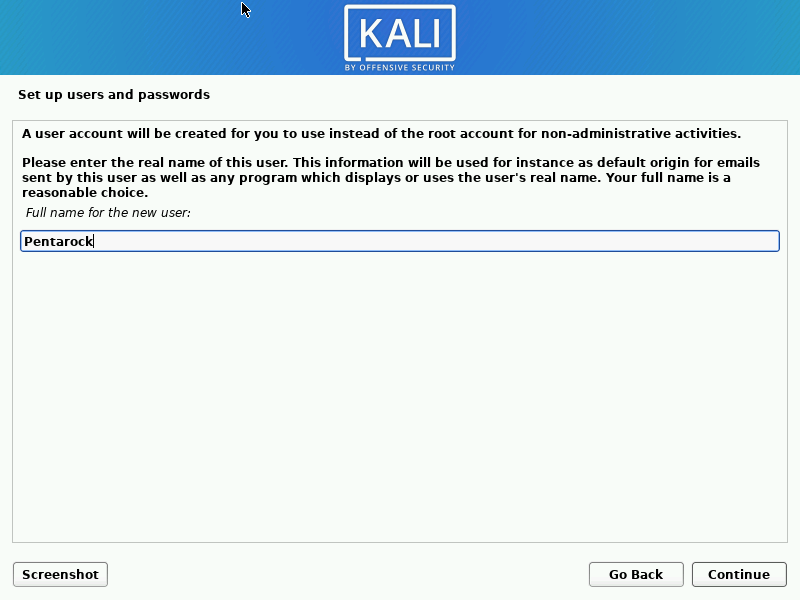
Create User Name
Now we will get a screen to create a new user name and password for login to our new system. Next, enter the desired username in the text box provided for the purpose. Now enter the password for the new user in the following screen. Also confirm the password by entering the password again in the space provided. Now click continue to move on the the next step.
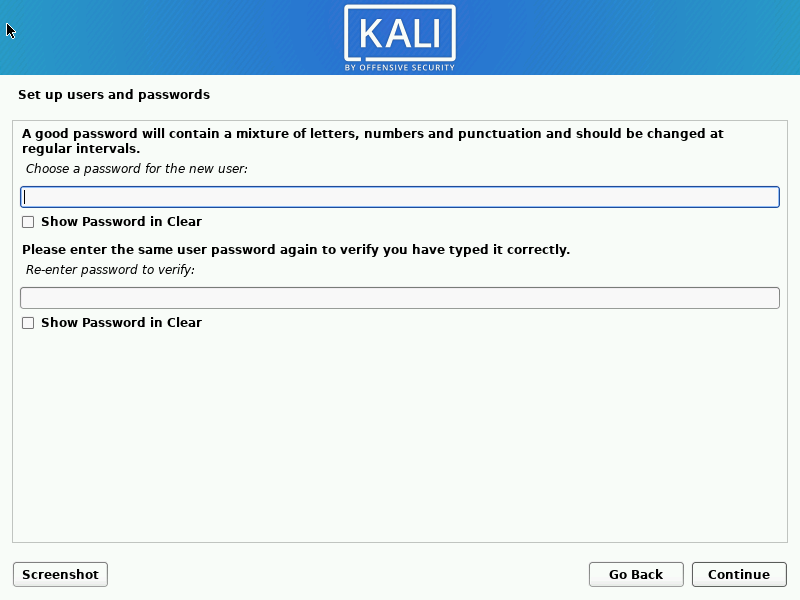
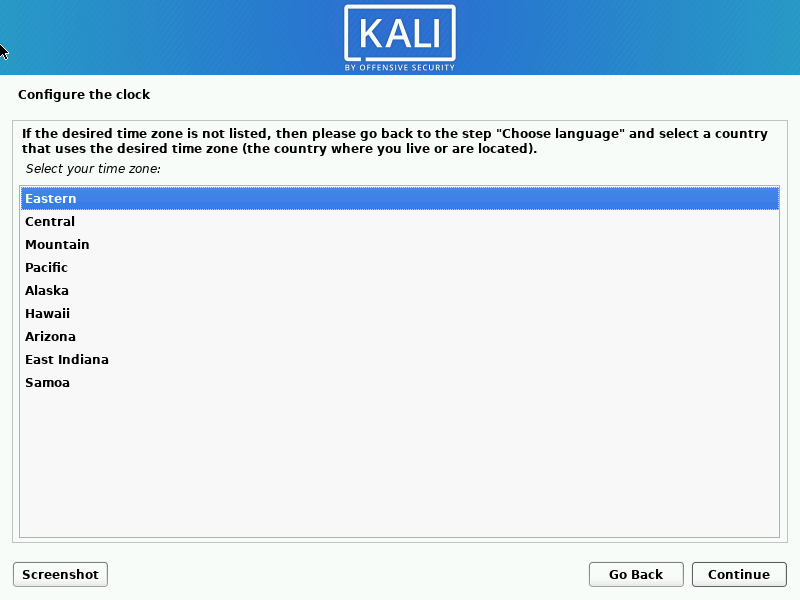
Create New Password
After entering password the installer will prompt you to set the time zone. You can change the time zone after the installation.
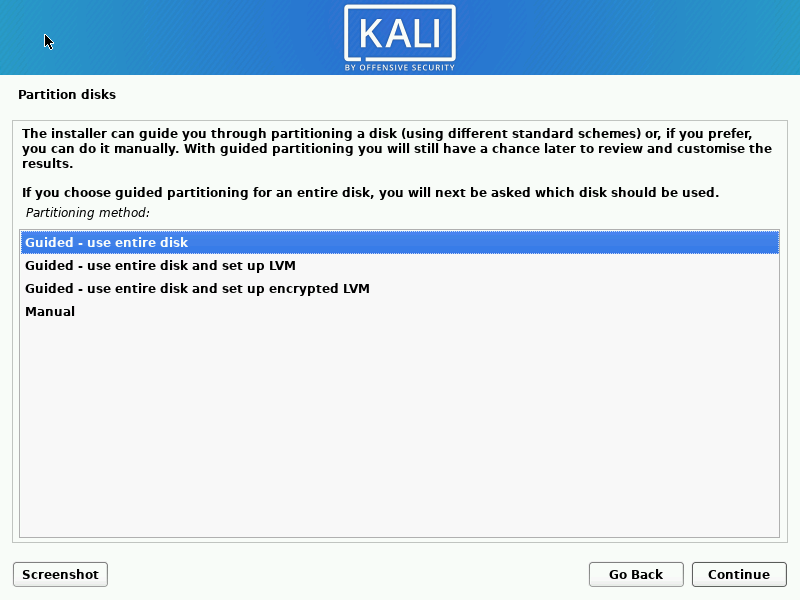
Disk Partitioning
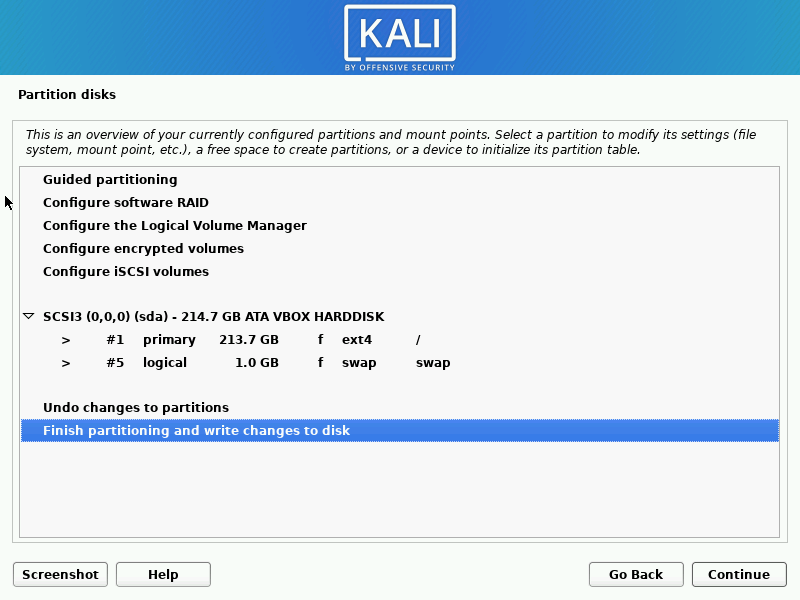
Then the installer will present the disk portioning menu. Select the option use entire disk and install to automatically partition the hard disk . If you need to partition the disk manually the option to do this is also available. After this the installer will confirm to write the partition information on the disk. Select finish partitioning and write changes to disk and click continue to proceed further.
Install GRUB Boot Loader
After this the software install will continue for some time (for 10 to 15 minutes, depending on your system configuration). Once the installation is complete the installer will start installing the grub bootloader and prompt for selecting the disk. Select the disk manually and click to continue.

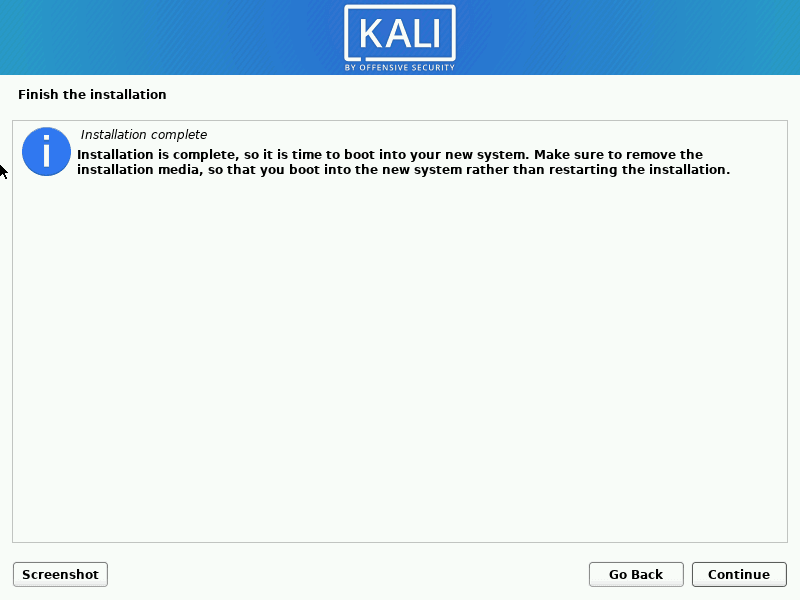
Finishing The Installation
The installer will greet you with the message “Installer is complete, so it is time to boot into your new system”. Next, remove any media from the drive and restart the system.
This completes the installation of Kali Linux on your computer. Login screen will appear after the restart. Login with the user name and password entered earlier during the installation and enjoy.