How to Install Linux Mint 20
Here we will follow how to install Linux Mint 20 on your new system. However, It is one of the finest Linux distributions for starters, especially for those who are switching from windows to Linux. The user interface of Linux Mint is somewhat closer to windows. Therefore the users switching from windows feel comfortable in Linux Mint. Additionally, Mint is simple, light weight and runs fast on very less system resources. It comes with lots of important utility software pre-installed.
Three Linux Mint installers are released featuring three desktop environments. The users have the choice to select the desktop environment of their liking. These are Cinnamon, Mate and Xfce Desktop Environments. The installation steps are quite similar of all the Desktop Environments. Here for this tutorial we will be installing the Xfce Desktop Environment. Although, the installation of the other desktop versions Cinnamon and MATE of Linux Mint are similar. The screenshots used in this guide may seem to be different for other versions but the basic steps of installation are similar to it.
| How to Install Ubuntu 20.04 LTS Focal Fossa |
System requirements for Linux Mint 20 default Xfce edition
- We will require a Desktop or a Laptop System for the installation of Linux Mint.
- At least 1 GB or more RAM (2 GB is recommended) in the Desktop or Laptop Computer.
- A minimum of 15 GB disk space (20 GB is recommended) in the Desktop or Laptop System.
- Graphics Card with minimum of 1024×768 resolution and a monitor will be required.
- The Desktop or Laptop Computer should have a DVD Disk Drive or A USB Disk Drive. So that we can boot the system using the installer media.
- A blank USB DISK of 4 GB or more for creating the Installer Media. We can also use a DVD Disk for creating the installation media.
- In addition to above, We will require a stable and fast internet for downloading the ISO installer file from the official website of Linux Mint and USB creation tool.
If you are a Windows user and switching to Linux Mint and you are using your old windows system for Linux Mint installation. Then carefully take backups of your personal data before the start of the installation procedure. Although you can install Linux and Windows 10 on a single machine creating a Dual Boot system. Here, we will format and use entire disk for the installation of single Linux Mint 20 Xfce edition on your system.
Download Linux Mint ISO
Now, Open Linux Mint official website and download Linux Mint in ISO format. This file will be used for making the installer USB DISK.
As discussed above there will be three variants on the website. Cinnamon Edition, MATE Edition and Xfce Edition.
Now, download the edition you like to install. On clicking the link various mirrors and torrent link will be displayed for download.
| Click Here To Download Linux Mint 20 |
Creating installer USB DISK of Linux Mint 20
Although there are many software tools are available for creating the installer media, but if you are a Linux user then you do not need any of them. Just open the terminal window of your Linux distribution and issue DD Linux command to create the installer disk.
Apart from the above, for creating installer USB DISK there are many open source and free software tools are also available. Startup Disk Creator or UnetBootin may be used for creating installer USB DISK .
| Link to the Official Website of UNetbootin for Application Download |
If we are a Windows OS user then you can use Rufus for the purpose. A Link to download these installer creation tolls are given below.
Now download any of the startup disk creation tool for installer media creation. The installation of Startup Disk Creator tools are quite straight forward and easy. Now install startup disk creator tool and create an installer media for Linux Mint 20 Xfce Edition.
| Link to the Official Website of Rufus for Application Download |
First insert the installer USB in the System and restart the system. When the system is starting press Del, F2, F10 or F12 key to enter the BIOS of the system and change the boot order to first boot from USB Disk. Save and exit the BIOS setup.
Install Linux Mint
Next, the system will boot into Linux Mint 20 environment. The first screen will be displayed like the one given below in the figure.
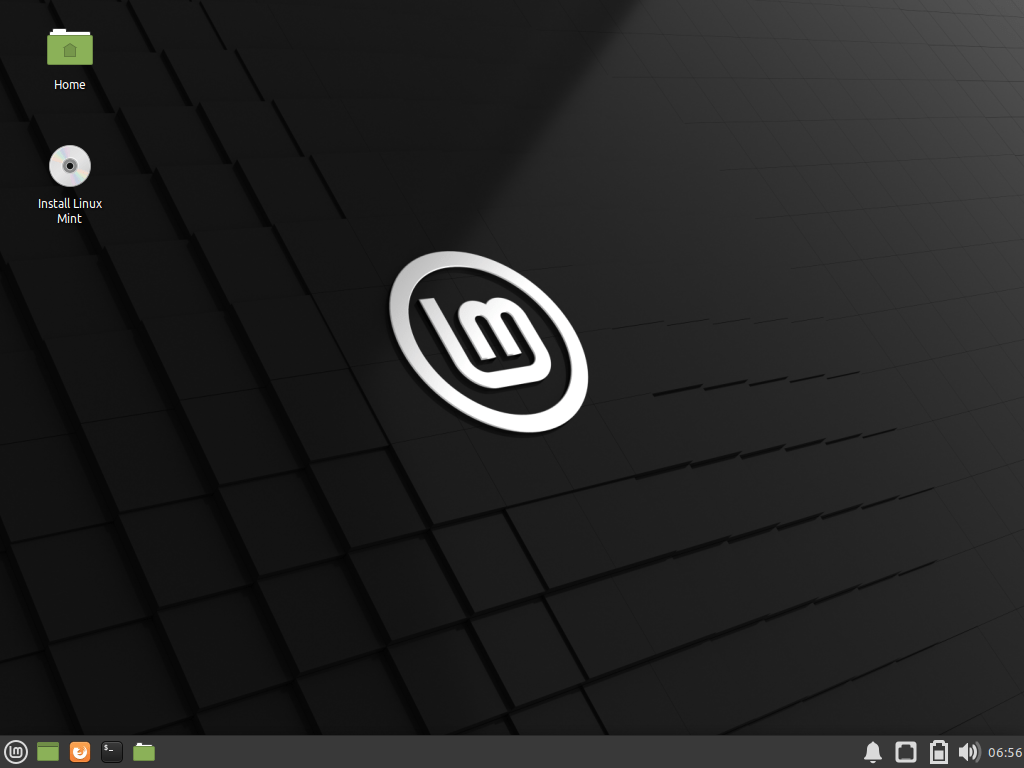
Now, we have to click Install Linux Mint Option button and the installation will start in few seconds.
Select Language
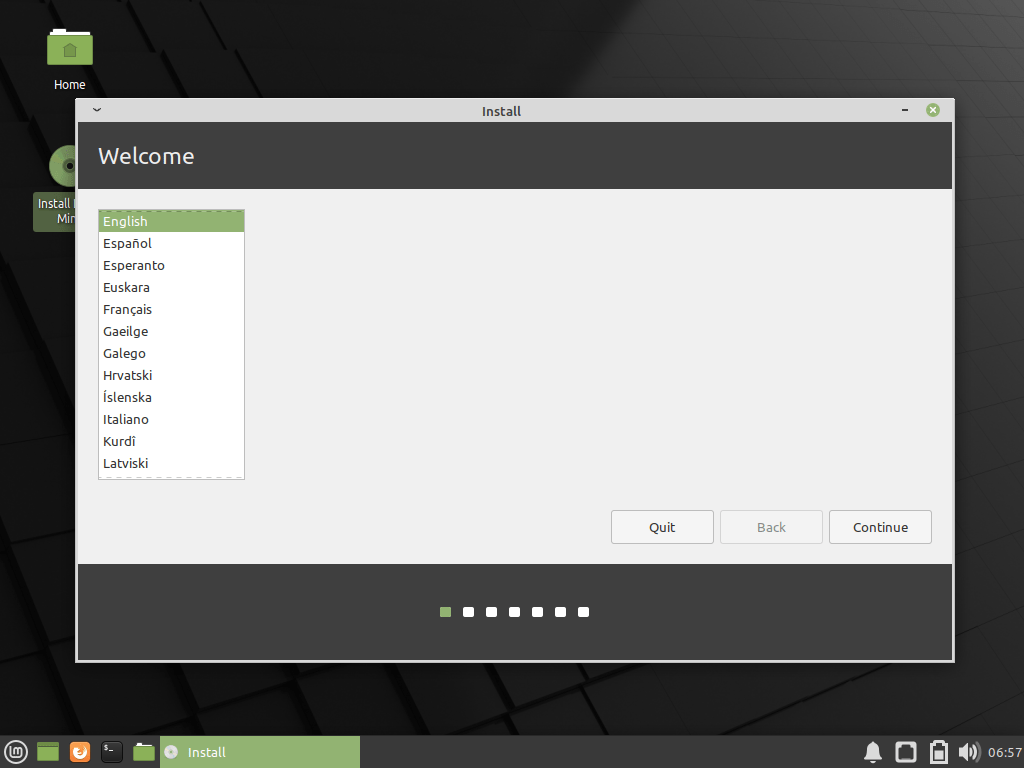
Next, the system will prompt us to select the language in the first screen. Select the desired language from the list given in the screen. Then click on continue button to move to the next screen.
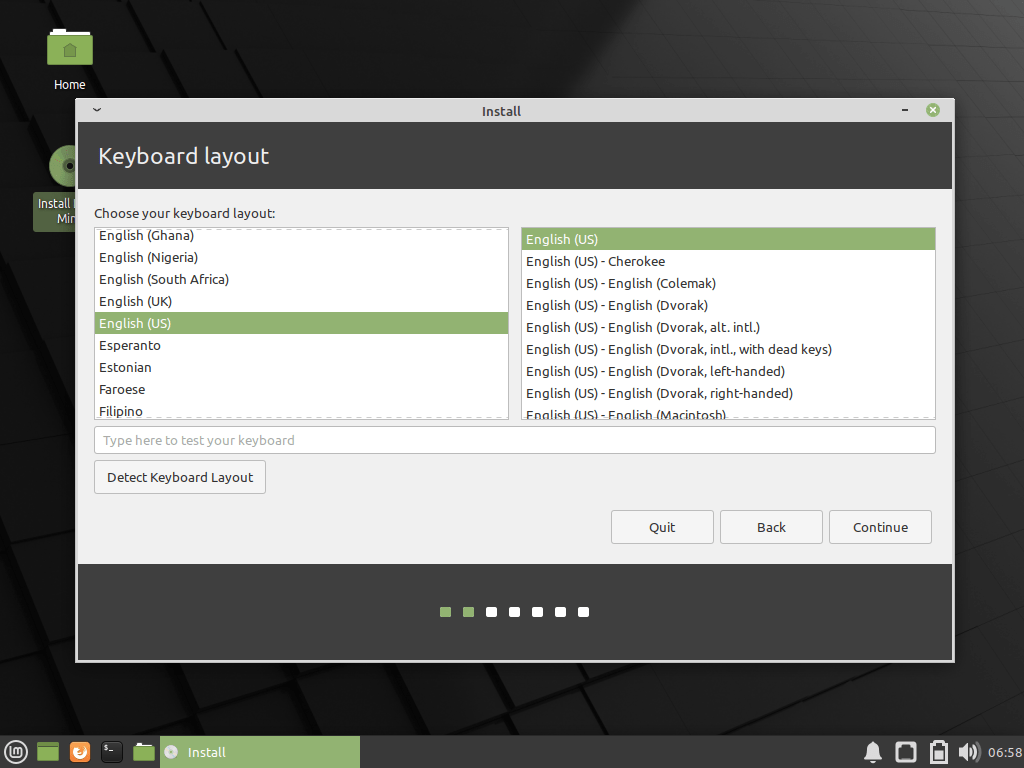
Select Keyboard Layout
Then installer will prompt to select the keyboard layout. Select the appropriate keyboard layout. Then click the continue button to move to the next step.
Hard Disk Partitioning
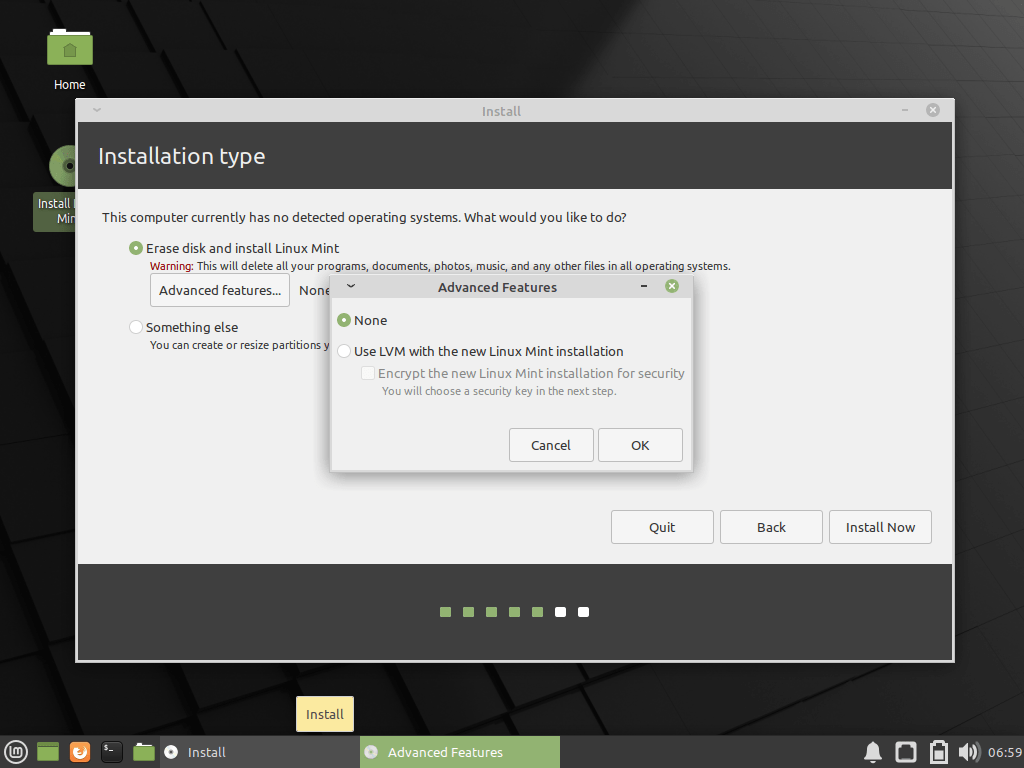
Now the installer will ask to format the entire disk and install Linux Mint. Select the Disk partitioning option as per your requirement. An automatic partitioning option of Select entire disk will do for most of the users. Now click on the continue button to proceed to the next step.

Further, a warning will be displayed that the disk will be formatted and all data on the disk will be lost. Press continue and move to the next screen.
Select Time Zone
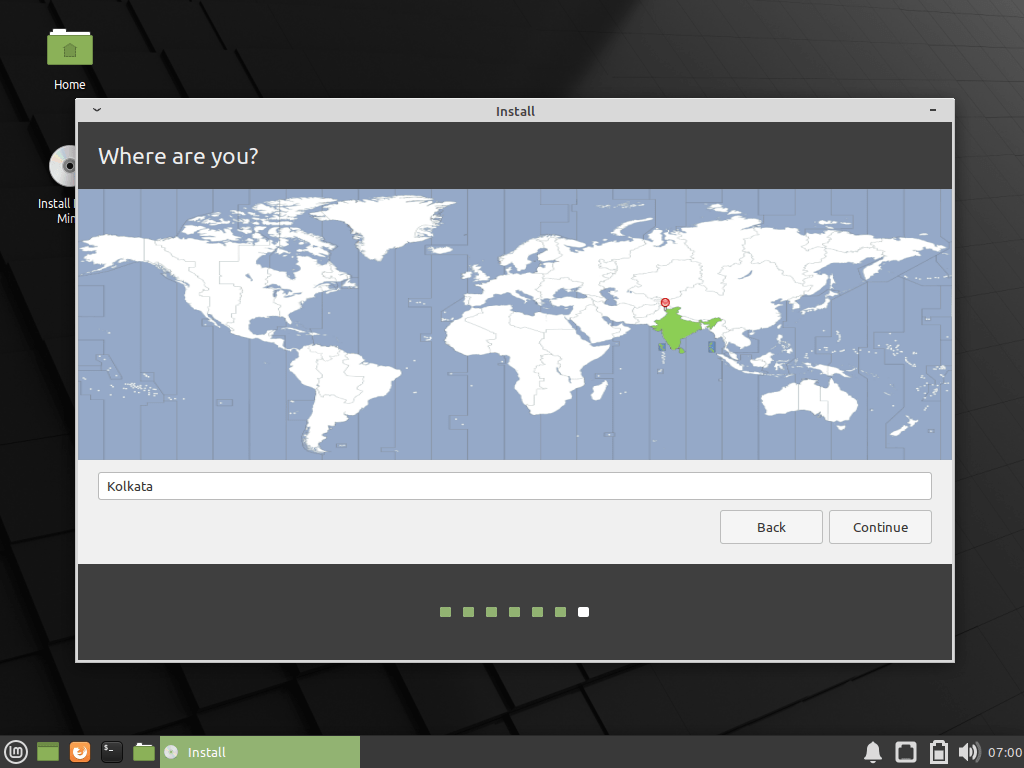
Further, on the next display select the appropriate time zone. We can change the time zone later after the installation.
New User Creation
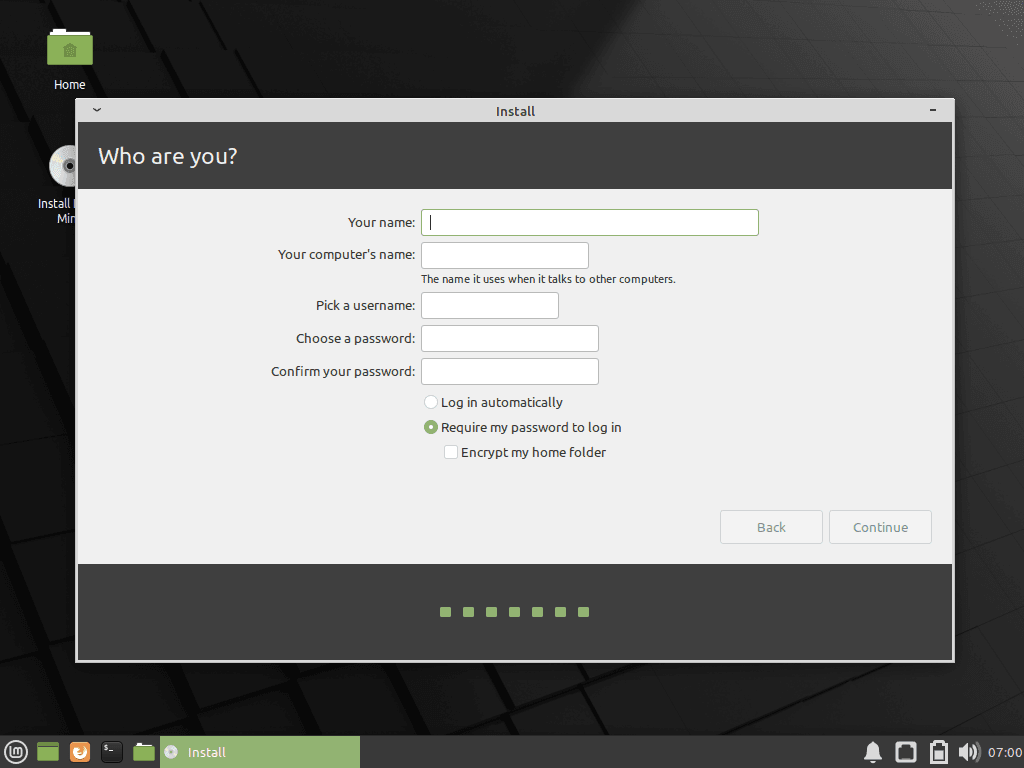
Further the installer will display a form to fill Your Name, Computer Name, username and password. Please fill the details and continue.
Finishing the Installation
Now, wait for 5 to 15 minutes depending upon your system speed for completion of the installation procedure. After the installation is complete restart the system.
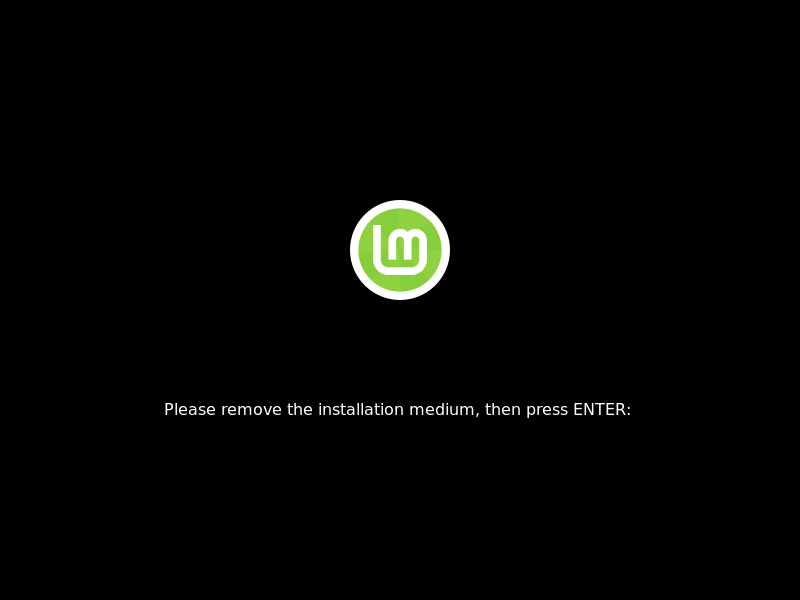
Also, when the system shuts down it prompts to remove the USB DISK and press enter.
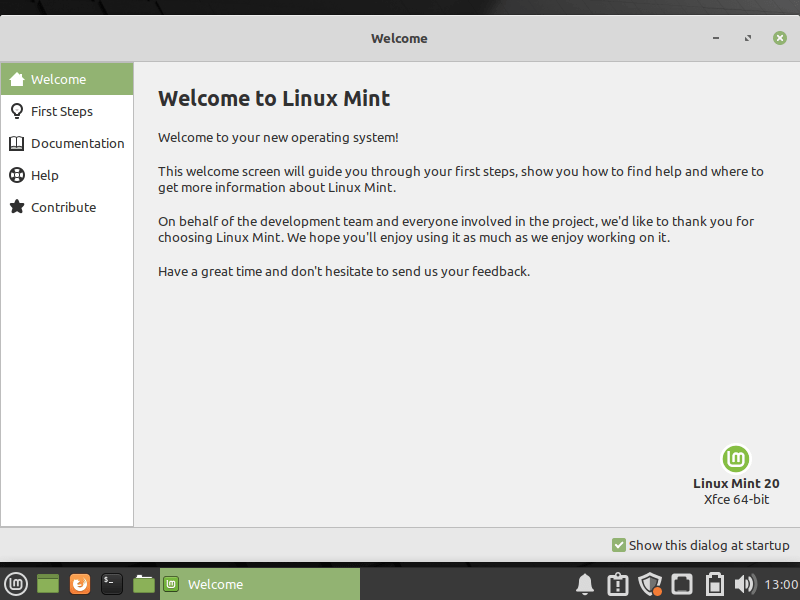
Further, on first boot after the installation the welcome screen of Linux Mint 20 will greet you as shown in the figure below.
