How to Install Fedora with Screenshots
How to Install Fedora with Screenshots is a step by step guide for installing Fedora 33 on Desktop / Laptop system. For this tutorial and for demonstration purpose I will use VirtualBox as a virtual environment for installing and configuring Fedora 33 Operating System.
Requirements for installation of Fedora 33
- A Desktop or Laptop Computer with a minimum of 1 GHz Processor (2 GHz Dual Core processor will be better)
- The Desktop or laptop System should have at least 2 GB of RAM or more
- A minimum of 15 GB unallocated Hard Disk space or more
- A Bootable installer Media (USB DISK / DVD DISK)
- Internet Connection for downloading Fedora 33 ISO installer files and software tools for creating installer USB DISK.
Download Fedora 33 ISO File from the Official Website
Next, download Fedora 33 Installer ISO File from the official website of Fedora and a Link to the download location is given below.
| The Link to the official website of Fedora |
Create Bootable Media
Download the installer ISO so that you can create bootable installer USB DISK. However, for creating installer USB DISK many free software tools are available for Linux and Windows operating systems.
Installer Media Creation Tools
Furthermore, for creating the installer media, you can use Startup Disk Creator Tool or UnetBootin Application or Rufus Startup Disk Creator. Because it is easy to use application tools for creating installer media. Additionally, below given is the link to the Official Website of these tools. Moreover, the installation of these tools are quite easy and straight forward. Next, install any of these tools on your system and create a startup disk from the installer ISO file of Fedora 33.
| Link to the Official Website of UNetbootin for Installer Download |
Although, in my opinion, Rufus is the best choice for creating bootable installer USB DISK of Fedora 33 Workstation on Windows System. Because its graphical user interface is easier to understand and work on.
| Link to the Official Website of Rufus Startup Disk Creator for Installer Download |
Furthermore, create the installer USB Disk using any of the above tools. After the creation of the USB Disk we are ready to install Fedora 33 on our Desktop or laptop Computer.
Installation Steps
Next, change the first boot device of our system to USB DRIVE from the BIOS settings of our system. This will enable us to boot our system from the installer media in USB Drive after the restart.
Fedora Installation
After setting the first boot device, insert Fedora installer USB DISK in the USB Drive and restart the system.
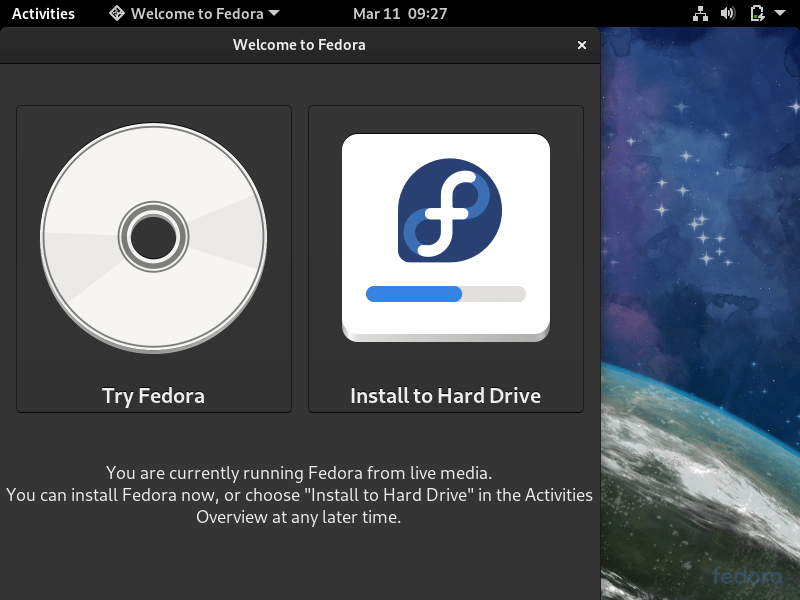
Furthermore, the system will boot from the installer USB DISK. As the first boot device is now set to USB Drive. Next the first Fedora Screen will appear. Two options will appear before you:
- Try Fedora and
- Install to Hard Drive
On selecting the first option “Try Fedora”, the Fedora operating system will start from the USB Disk. Here you can have a look and feel of the Fedora Operating System. However, you can open the file explorer of Fedora and navigate to different folders is the operating system. Also, you can launch various applications that are installed by default with Fedora operating system. Additionally, you can invoke the terminal window of Fedora operating system and run various commands in the terminal window.
The second option is “Install to Hard Drive” is for installation of Fedora 33 Operating System on the Hard drive of your Desktop or Laptop computer. Here if you do a clean install then hard disk of your system will be initialized and the Fedora Operating System will be installed on it. You can also install Fedora 33 along with other operating system on your computer making it a dual boot system.
Now, we will select Install to Hard Drive option to install Fedora 33 on your computer’s hard disk. Below given is the first screen that will be displayed before us:
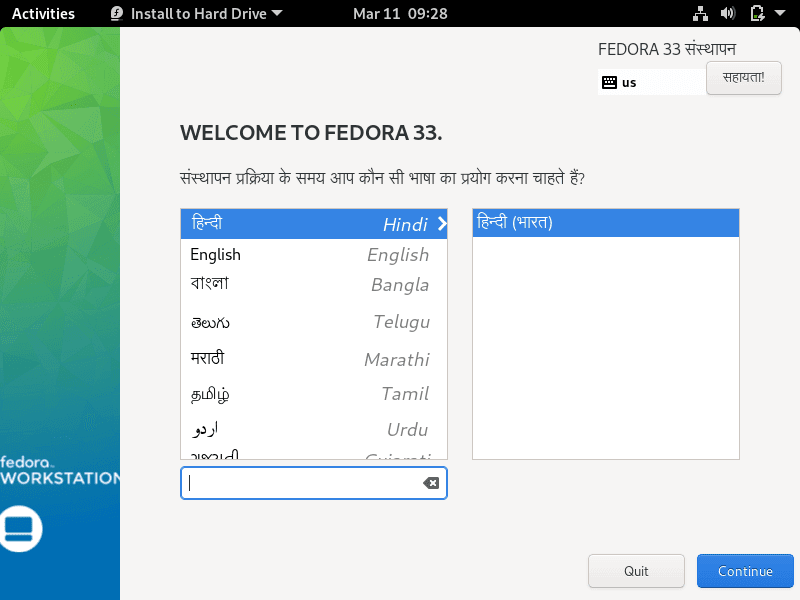
Select Language of Installation of Fedora 33
Next we will be presented with the option to select the language of the operating system. Select the appropriate language for your installation of operating system. Next, your selected language will be used for the rest of the Installation process.
Configuration Options
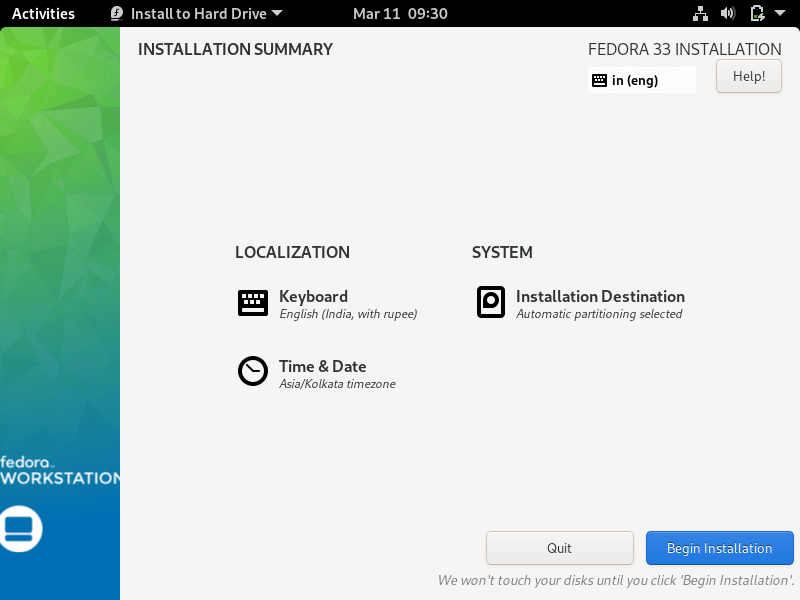
Now the next screen will be an Installation Summary screen. In this we will have to configure the operating system for the following points one by one.
- the Keyboard Layout
- Installation destination
- Partition type
- Time & date
In the Keyboard Layout option a dropdown list of various keyboard layouts will be displayed. Select the one most appropriate for you. You can also change the keyboard layout after the installation of operating system.
In the installation destination you have to select the hard drive or partition on which you want to install the Fedora operating system. Here select the appropriate hard drive to install Fedora 33.
There is one more option of setting Time Zone or Time & Date. Select the appropriate option according to your location.
Furthermore, in the partitioning there are automatic and manual partitioning options. However, select the one that suites your requirements. Here we will select the automatic mode. This mode is selection of partition scheme will be suitable for most of the users.
Further, select done. The installation summary will be displayed on the screen. Next, click on Begin Installation button.
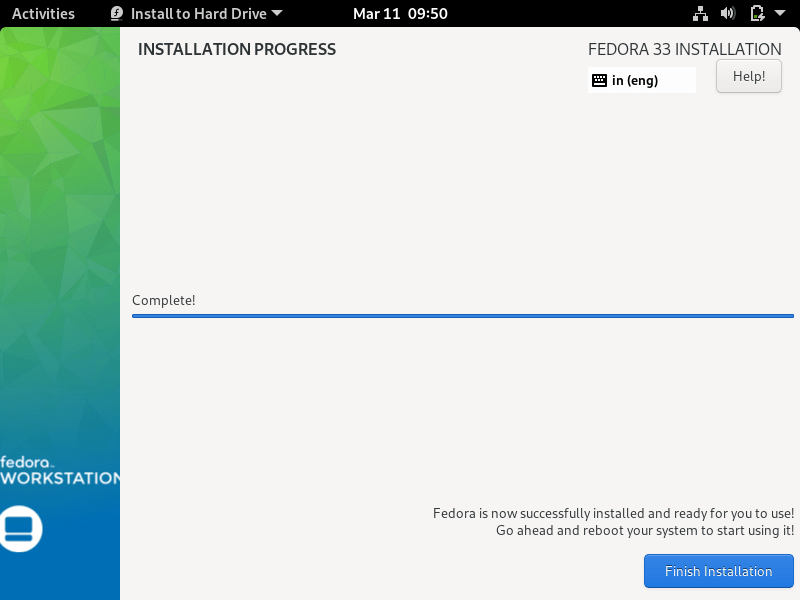
Additionally, this process will take 10 to 15 minutes depending on your system configuration. Next, click Finish button to complete the installation process.
Create New User Name and Password For Login
Further, now remove the USB drive from your system and reboot the system. Now the Installation of Fedora 33 is complete. The next screen will be to create a new User Name and Password.
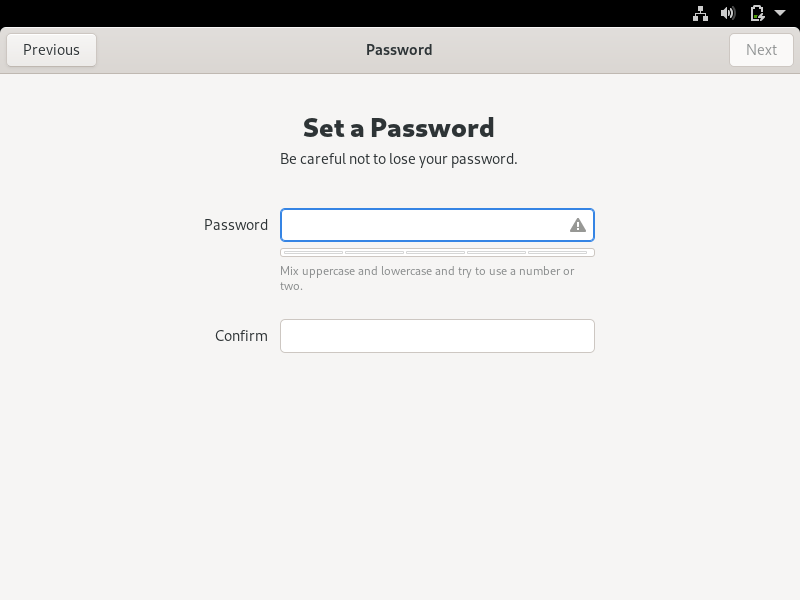
Now this is the time to create a new username of your choice on the first boot of the operating system. Here choose your new User Name to login to the new operating system.
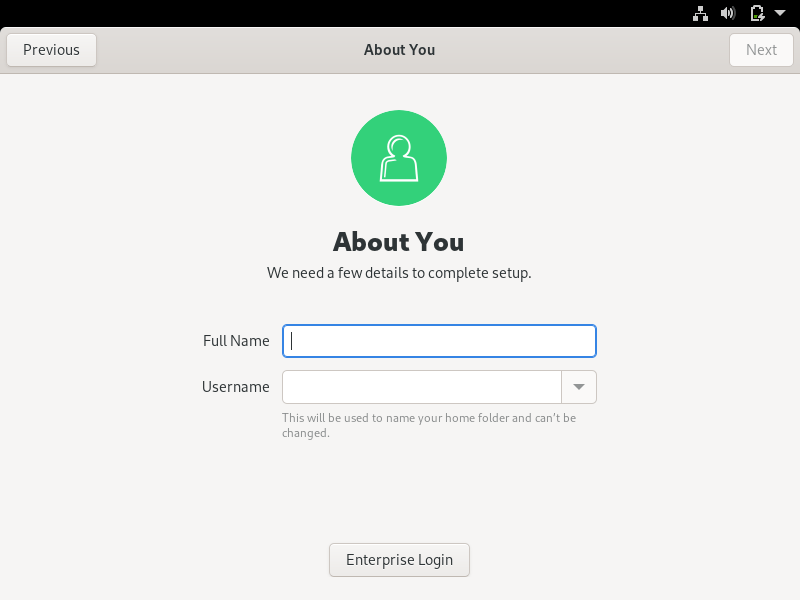
Further, after choosing the new user name do not forget to create a strong password. Select a strong password then re-enter the password in the text box given below to confirm the password. Then click on the next button to proceed to the next step.
Now you will get a screen for the configuration of the GNOME Desktop environment. Next configure the Gnome desktop environment to your liking and you are done.
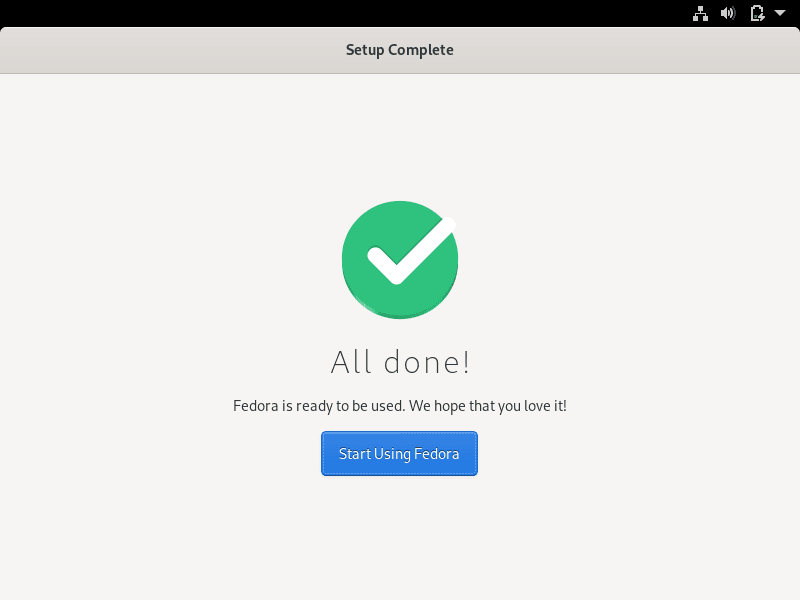
Start using your new Fedora 33 Workstation.
| How to Install Debian 11 Bullseye |

