How to Install CentOS 8
5 min read
We will see how to How to install CentOS 8 in this article. However, CentOS 8 was released in September 2019. It is one of the most downloaded Linux distribution. Moreover, CentOS 8 operating system is an open source and free operating system. It is one of the most popular Linux distributions used by the professionals. Let us see the prerequisites for installation of CentOS 8 on a Desktop or Laptop computer.
Prerequisites for the Installation of CentOS 8
- We will require a minimum of 10 GB hard disk space (recommended) on our Desktop or Laptop computer.
- A minimum of 1 GB RAM (Recommended 2 GB) is required on our Desktop or Laptop System.
- In our system a Bootable USB DRIVE or DVD DISK is required for installation of operating system.
- An active internet connection for downloading the installer ISO and software for creating installer media.
- A blank DVD or USB Disk for creation of bootable installer media will also be required.
First we will start downloading CentOS 8 ISO installer file from the official website of CentOS.
The official CentOS website contains two ISO package.
- CentOS Linux DVD ISO That includes the GUI version
- CentOS Stream DVD ISO
However, for this tutorial we will use the free version of Linux 8 ISO file. Below is given the link of the official website of CentOS 8 for downloading of ISO installer file.
| Link to the Official Website for Download ISO Installer File |
Create Startup Disk (Installer Media)
After downloading the CentOS 8 ISO installer file. We have to create a bootable installer media on USB DISK or DVD DISK. Moreover, For creating the installer media there are many tools available for free. Also, if you are a Linux user then you do not need to use any application or tool to create a startup disk. You can use the DD command of Linux to create installer disk from the downloaded ISO file.
Although, it is easier to create startup disk or media through the many freely available open source applications or tools. Startup Disk Creator Application and UNetbootin Application Tool are the examples of freely available startup disk creation utilities.
However, if you are a Windows user then Rufus is the best choice for you for creating the bootable installer media. Below given are the links to the official website of UNetbootin and Rufus startup Disk Creator utility for downloading the installers. The installation of these utility tools are quite straight forward.
| Link to the Official Website of UNetbootin for Installer Download |
Now download and install one of the startup disk creator utility tool for the creation of installer media.
| Link to the Official Website of Rufus Startup Disk Creator for Installer Download |
Moreover, change the boot order of your Desktop or Laptop computer and make DVD or USB drive as first boot device, so that the system may boot from the installer media after the restart. To change the boot order of device go to the system bios menu and change the order and save and exit.
Start CentOS 8 Installation on Desktop or Laptop System – How to Install CentOS 8
Furthermore, after creating the Installer media insert the media in the system and restart the system and boot from the installer. Then first screen will display a main menu with many options to choose from. Also, choose Install CentOS Linux and press enter to start the installation process.

Select the Language
Further, select the language you want and click on Continue. However, the next window displays the rest of the system configuration. Here you can configure all the settings. Set the parameters that suits your requirement. The chosen language will remain the same throughout the installation of the operating system.
Select the Appropriate Keyboard Layout
The first option is to set keyboard layout that you want to use on your system. However, the default keyboard layout is English (US). Here choose the appropriate keyboard layout for you. You can add more keyboard layouts or change this keyboard layout after the installation of the operating system.
Set the Right Time Zone
Additionally, configure the time and date by setting the place you are in. The system automatically sets the time as per to your location. You can change the time zone after the installation of the operating system.
Select Software packages
Then select the software packages that you want to install with your CentOS 8 system. Check the available software packages and select the ones that you need to install along with the operating system.
Select the Installation destination
Furthermore, choose Installation Destination to select the system on which you want to install CentOS 8. You can select Automatic partitioning or you can manually configure it. If you are an advance user then you can chose to partition the Hard Disk manually according to your specific requirement. Automatic Partitioning will do for most of the users.
Select and Set the Network and Host Name
Now is the time to select and set the network and the hostname.
Now navigate to the Installation Summary by clicking on done button. Further, when you are sure that all the configuration are done. After the CentOS 8 is configured according to your requirements. Then click on the button in the bottom right corner labeled Begin Installation.
Configure User Settings
Further, configure the User Settings. Create a root password. Then create a user for normal use. Type in your full name and the user name you want to use. The type the password you want to use and again type to confirm.
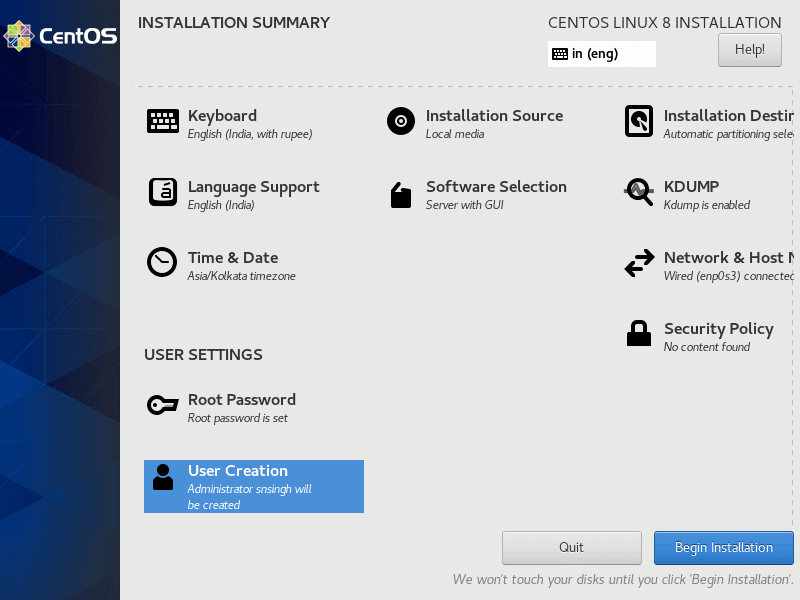
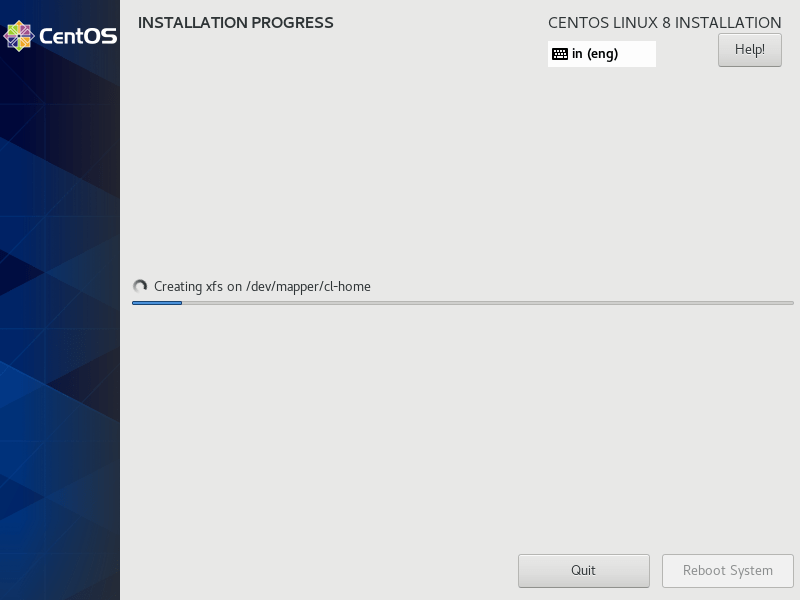
Further, we have to wait until the installation is complete. However, a notification will be received when the installation will be completed. Then we have to reboot the system to start using CentOS 8.
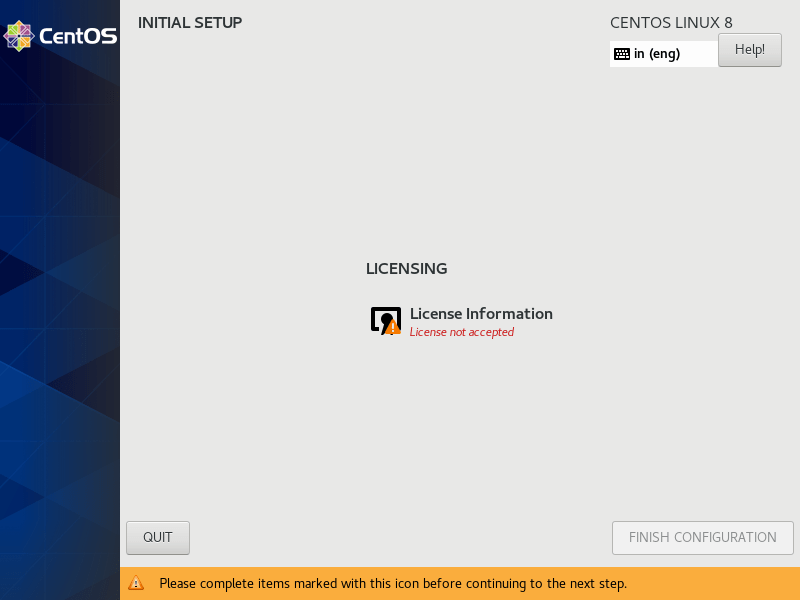
Also, for the first time the system displays an Initial screen with a Licensing Agreement that must be accepted to complete the configuration.
Now, the next screen is the login screen. Here type the password for your user and press Enter.
Now, the CentOS 8 Welcome screen is displayed. Start Using CentOS Linux. Navigates to the CentOS 8 desktop. Now you are ready.
| Install Manjaro Linux | Install Elementary OS | Linux Mint Install |

