How to Install XAMPP on Windows 10
Install and Configure XAMPP Server on Windows 10
XAMPP Server is one of the most commonly used open source and cross platform web server. In this tutorial we will learn how to install XAMPP on Windows 10 32/64 bit operating system. In fact the installation and configuration procedure described in this article will be same for 32/64 bit Windows OS.
Moreover, XAMPP Server is used by the developers for development and testing of their application on localhost. However, this open source Web Server is developed by Apache Friends. Additionally, its source code can be modified and revised by the users.
Additionally, the XAMPP Server includes Apache Web Server, MariaDB Database Server and programming languages PHP and Perl. Moreover, as of now it supports 11 languages. It is available for Windows, MacOS and various Linux distributions.
In addition to above, XAMPP is an abbreviation where individual alphabets of XAMPP Server stand for:
X – Cross Platform
A – Apache Web Server
M – MariaDB Database Server
P – PHP programming Language
P – Perl Programming Language
However, as described above, XAMPP Server is used for local development and testing of application by the developers. However, after the development and testing phase of the application is completed, the application is finally moved to the production server.
Brief Description of Components of XAMPP Server
In additions to the above, following core components of XAMPP Server applications are also installed along with the installation of XAMPP Server.
- phpMyAdmin: The phpMyAdmin is a GUI frontend for managing MariaDB Database Server. Additionally, phpMyAdmin is used for creation, deletion and modification of databases and tables in MariaDB Database Server. However, the phpMyAdmin application is also used for administration of MariaDB database server.
- OpenSSL: OpenSSL is an open source application of Secure Socket and Transport layer protocol. However, at the time of writing this article, the current version installed with this XAMPP Server is “OpenSSL 1.1.1l 24th August, 2021”.
- XAMPP Control Panel: XAMPP Control Panel is a GUI interface for configuring and regulating the components of XAMPP Server. However, at the time of installation and writing this article, the latest version of XAMPP control panel is 3.3.0. Additionally, later on in this tutorial, we will describe all the functions of the XAMPP control panel in detail.
- Mercury: Mercury is an email server application. It is installed along with the XAMPP Server. Additionally it is very easy to configure and can be used to manage emails across the web.
- Tomcat: Tomcat requires java (Java Development Kit) jdk or (Java Runtime Environment) jre to be pre-installed on your system. However, it is a java servlet that provides java functionalities. However, at the time of writing this article, the latest version of Apache Tomcat Servlet is 8.5.73.
- Filezilla: Filezilla is one of the most popular and widely used file transfer application. However, it is also installed along with the XAMPP Server. Moreover, to use this service just start Filezilla service from the XAMPP Control Panel. At the time of writing this article the latest version of Filezilla is 0.9.41.
Pre-requisites for Installation of XAMPP Server on Windows 10
Following are the pre-requisites for installation of the XAMPP Server on Windows 10 64/32 bit operating system.
- You will need a Desktop/Laptop with pre-installed Windows 10 64/32 bit operating system. To install Windows 10 64/32 bit operating system on your Desktop/Laptop you can follow our tutorial “How to Install Windows 10 OS on Your PC”. The link to this article is given below.
| How to Install Windows 10 OS on Your PC |
- You must have basic knowledge of web development languages like HTML, JavaScript and PHP.
- In addition to above, you must have basic knowledge of Apache Web Server and MySQL / MariaDB Database Server.
- A stable and fast internet connection is required for downloading and installation of the XAMPP Server application on your system.
After the completion of the above prerequisites, we are ready to download and install XAMPP Server on Windows 10 operating system.
Install and Configure XAMPP Server on Windows 10
Download XAMPP Installer
- In the first step open your favourite web browser and type the following URL in the address bar of web browser to visit official website of XAMPP Server. We are using google chrome browser.
https://www.apachefriends.orgThe home page of the official website will present the options to download XAMPP Server for the following three operating system platforms:
- Windows
- MAC and
- Linux
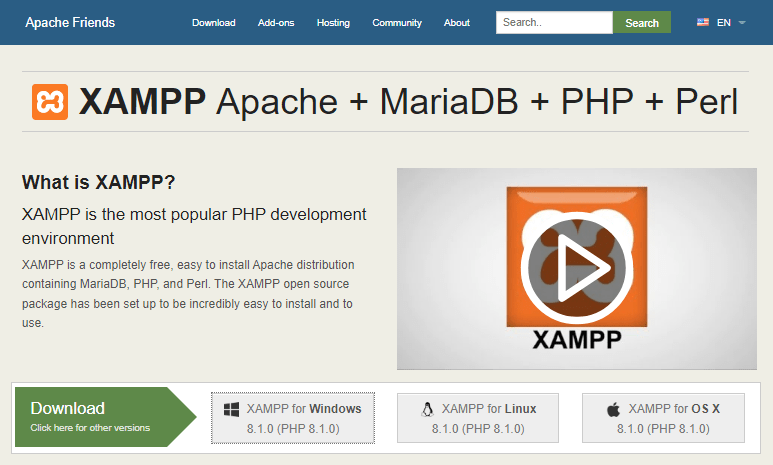
- However we will be installing XAMPP Server on Windows 10 operating system. Therefore click on the XAMPP for Windows link on the web page to download the installer executable file. However, at the time of writing this tutorial, the latest version of XAMPP Server available on the website is 8.0.13. On clicking the download button on the web page, the download of the installer executable file will start. A screenshot of the web page is given below.
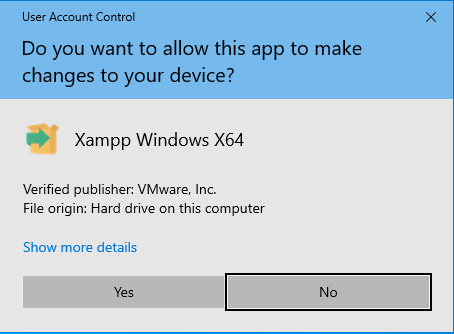
- After the completion of the installer download, double click on the installer executable file to start the installation wizard. A message will be displayed on the pop up screen by the Windows 10 Operating system to allow the installer to make changes to the system. Click “Yes” to continue the installation process. Below given is the screenshot of the pop up window.
- Next you will see the pop up windows as shown below.

However, it is better to install XAMPP Server to its default location C:\XAMPP instead of installing it in c:\Program Files folder. Click on the ok button to continue the XAMPP Server installation wizard.
XAMPP Setup Wizard
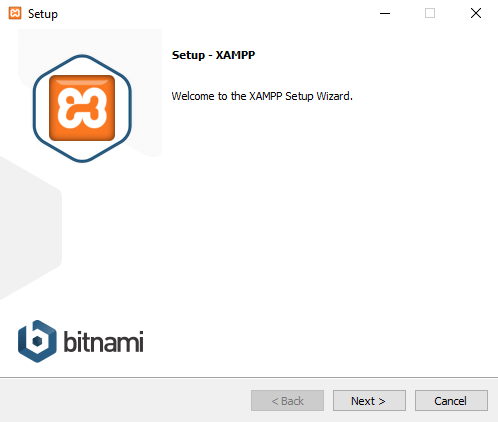
- On clicking the OK button the XAMPP Server installation wizard welcome page will be displayed as shown below.
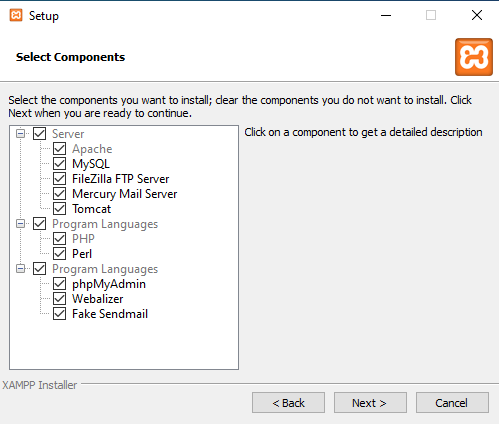
- Next the component selection window will appear. Here you can select the XAMPP Server components that you want to install. Leave it to the default selection and click on continue button to proceed with the installation process. Below given is the screenshot of the component selection window.
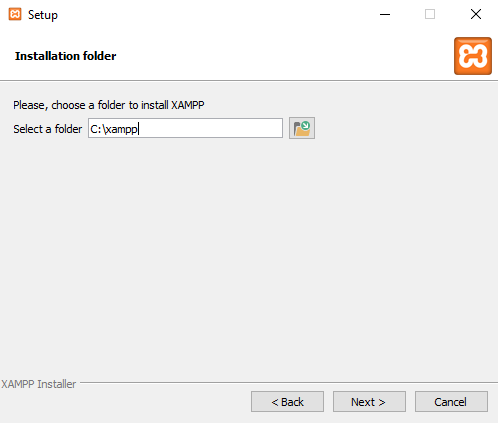
- The next screen will show the XAMPP Server installation path on your system that is C:\XAMPP. Leave it to default and click on next to continue the installation of XAMPP Server.
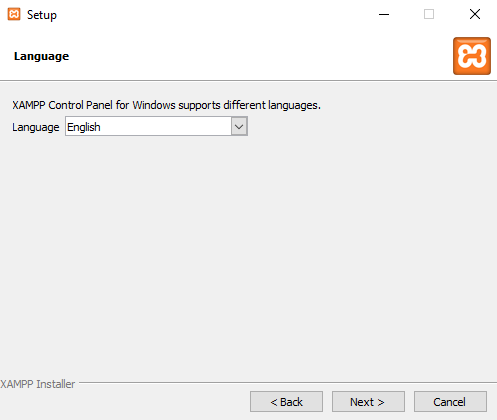
- The next screen will prompt you to select the language of the installation. Select the appropriate language and click on next button to continue the installation process.
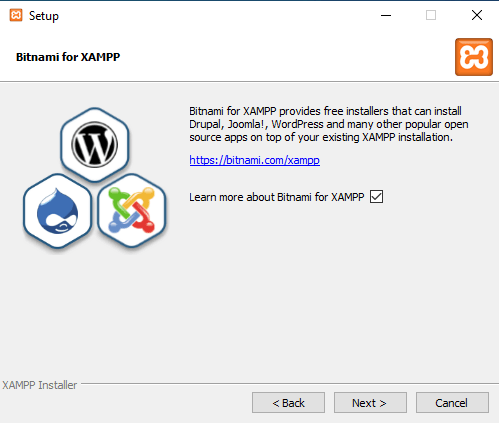
- The next screen provides information that you can install WordPress, Drupal, Joomla and many more CMS (content Management System) on top of the XAMPP Server. A link is also provided for further detailed information. Click on next to continue the installation process.
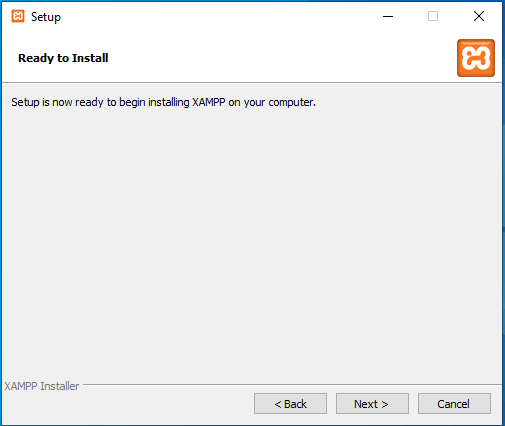
- The next window is ready to install XAMPP Server windows as shown in the figure below. Click next to continue.
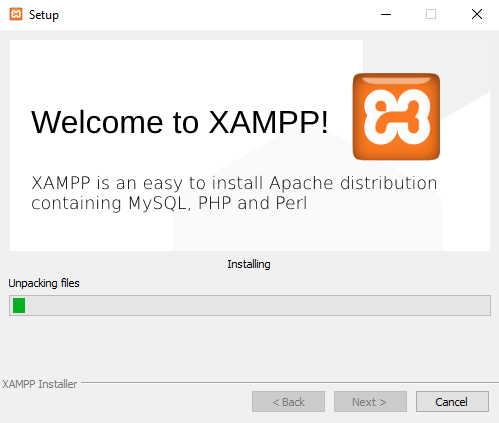
- ON clicking the next button the installation of the XAMPP Server will begin. It will take 3 to 4 minutes for installation. The installation time is dependent on the configuration of your Desktop / Laptop system.
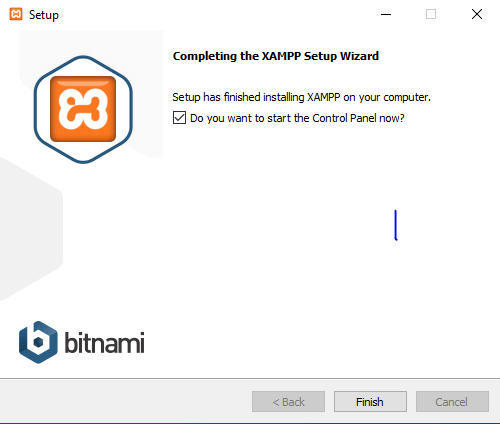
- Additionally, you will see the following screen after the completion of the installation of the XAMPP Server. Click on finish button to complete the installation and exit the installer wizard.
XAMPP Control Panel
- Below given is the screenshot of the XAMPP control panel 3.3.0 window.
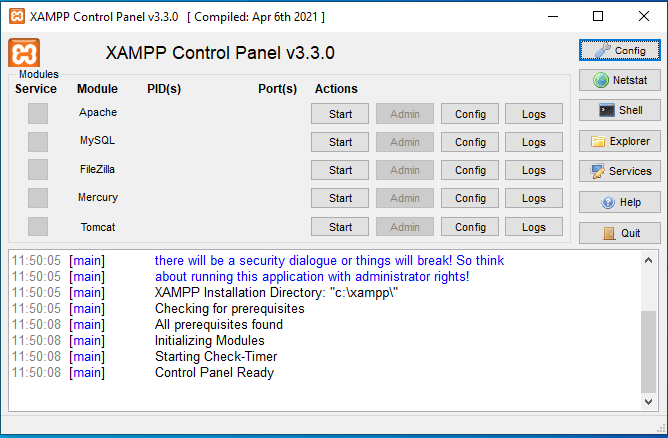
From the XAMPP Control Panel you can start apache web server, MySQL Database Server and all the other components as required.
Configuring Apache Web Server
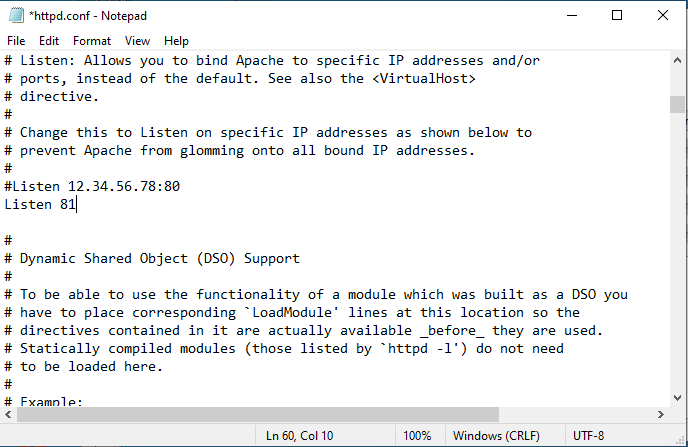
However, if IIS Web Server is preinstalled on your System, there will be conflict on port 80 with Apache Web Server. To avoid this click the apache config button and edit the httpd.conf file. Change the Apache web Server port to 81 or any other port you like. Do remember to allow this port in your windows firewall. Below given is the screenshot of Apache httpd.conf file.
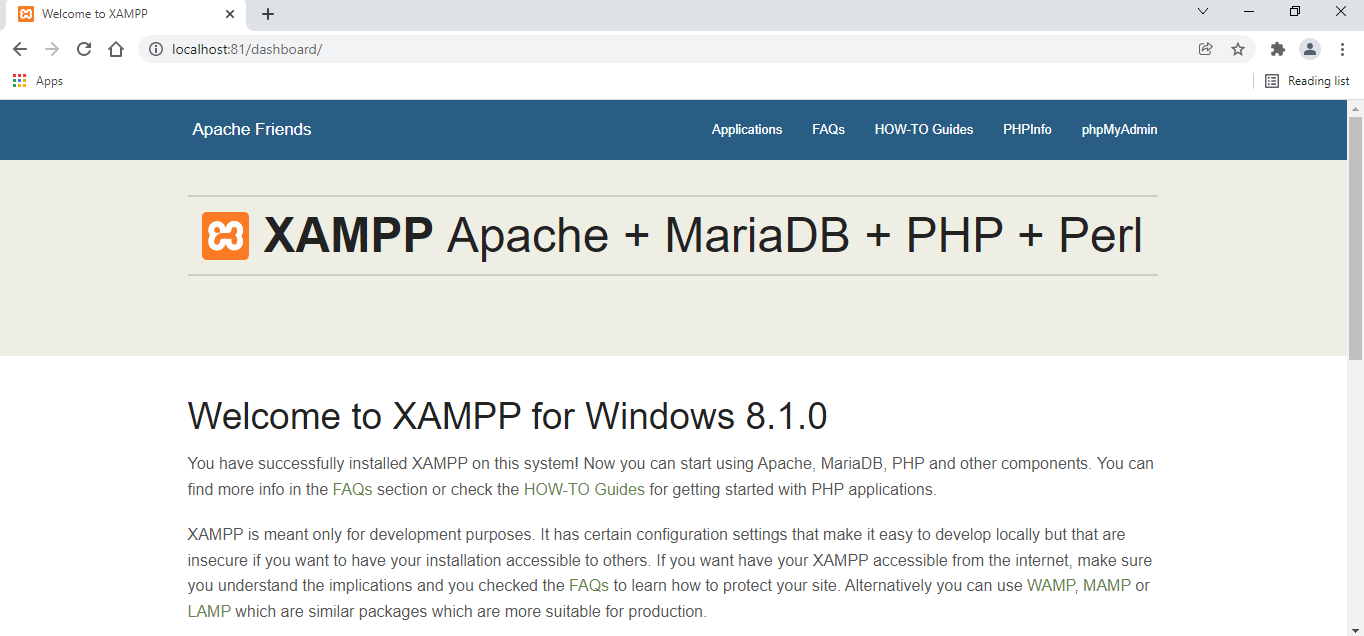
Open your browser and type http://localhost:81. and you will get the Apache welcome page as shown below.
Now you can start MySQL Database Server, Filezilla File Transfer Protocol, Mercury Email Server and Tomcat Java Servlet from the XAMPP Control Panel. Install Java JRE or JDK on your system to start Tomcat Server.
Test XAMPP Server Installation
Now we will create a web page in PHP and open this page in the browser to verify the XAMPP installation. For this navigate to C:\XAMPP\htdocs folder on your machine. Now create a folder “test” inside C:\XAMPP\htdocs folder. Move to this test folder. Create a text file named “test” here using your favourite text editor. We are using notepad as the text editor. Give the extension to this text file as “.php”. Write the following code in the file and save and exit the editor.
<!doctype html>
<html>
      <head>
           <title> Welcome to XAMPP Test Page </title>
      </head>
      <body>
           <p> Our XAMPP Server is now running successfully</p>
      </body>
</html>
Now open the XAMPP control panel and start the apache web server. Next open your favorite web browser and type the URL http://localhost:81/test/test.php in the address bar of the browser. Remember earlier we have changed the Apache Web Server port to 81. Therefore we will write “localhost:81” in the URL everywhere. The web page will display the message ‘Our XAMPP Server is now running successfully’. This message indicates that our XAMPP Server as installed and configured correctly. Below given is screenshot of the output page of the web browser. 
However, above screenshot indicates the successful installation of XAMPP server. We have also written our first test PHP code.
Solution for Error in Quit XAMPP from XAMPP Taskbar Icon in Some Systems
Additionally, you will see XAMPP Server icon on the taskbar of the windows OS. If you want to stop all the running services from the control panel and quit the XAMPP Server. First stop all the services then right click on the XAMPP icon on the taskbar. Select quit option from the context menu to quit the application. In some instances this will throw an error. Below given are the popup error messages.
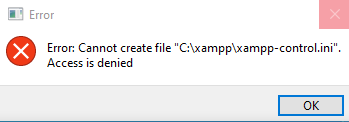
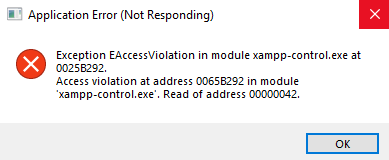
Moreover, the solution for the above problem is simple. Navigate to the XAMPP Server folder. Then select xampp-control.exe file and right click on it. Further, from the context menu select send to and create desktop shortcut. Next, select desktop shortcut and right click on it. Furthermore, select properties from the context menu and click on the advanced button. Now select run as administrator checkbox apply and save. Below given are the screenshots of the steps.


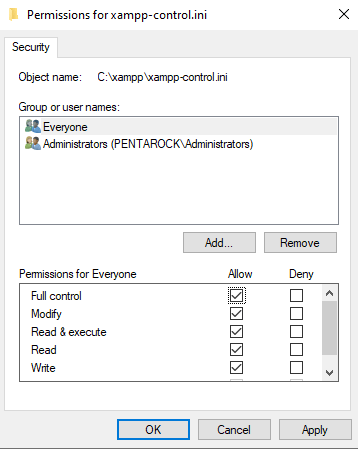
Furthermore, select and right click on the file xampp-control.ini and select properties. Go to security tab and enable full access for everyone on the file as shown in the figure.
Finally, have fun; enjoy using XAMPP Server on your windows system.

