How to Install MySQL 8.0 on Windows 10
In this tutorial we will learn how to install MySQL 8.0 on Windows 10 operating system. MySQL Database Server is an open source database management server. Initially MySQL Database Server was developed by MySQLAB. Later on it was acquired by Oracle Corporation. It is based on relational database management system. However, Oracle Corporation maintains two versions of the MySQL Database Server. One is Enterprise Server Edition and the other one is Community Server Edition. The Enterprise Server Edition is commercial edition and can be purchased from Oracle Corporation. The community server edition is open source and free edition. Therefore, we will be using the open source and free community edition of MySQL Database Server for this tutorial.
| WAMP Server for Windows 10 Installation Configuration |
Prerequisites for Installation of MySQL 8 on Windows 10
- Firstly, we will need a machine with preinstalled Windows 10 Operating System.
- A stable and fast internet connection for downloading and installing MySQL Server installer and other libraries and dependencies.
Installation of MySQL 8 on Windows 10
To begin with the download link for the MSI installer file of MySQL Database Server is given below. First download the installer executable file from the official website. At the time of writing this tutorial, latest version of MySQL Database Server is 80.0.26.
| Download Link for MySQL 8.0.26 Installer from the Official Website |
After downloading the installer, we are ready to start installation process. Next, double click on the installer executable to run the installer. Further, the installer will guide us throughout the rest of the installation process. Additionally, I am providing images of the step by step installation process.
The Setup Types
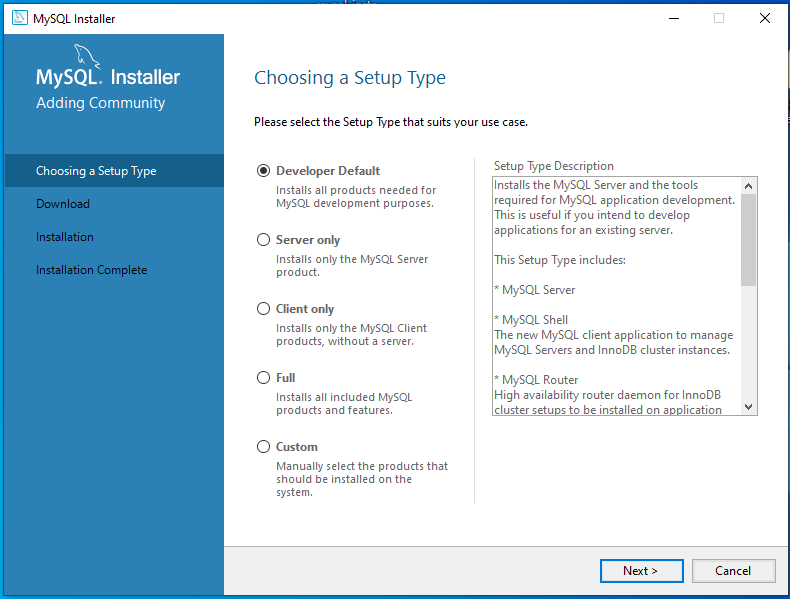
Next, the first page of the installer will prompt us to choose the setup type. However, the available setup types are:
- Developer Default: In this setup type only those components are installed that are required for MySQL development purpose.
- Server Only: This setup option will install only the MySQL Server.
- Client Only: Choosing this option will install only MySQL Client without the Server.
- Full: This setup option, if selected will install all the features and products of MySQL Server.
- Custom Install: As the option name suggests here we can choose manually what features and products of MySQL Database Server we want to install.
Here we will start installation with setup type full, so that we can cover all the installation options.
Check Requirements
Next, we will select Full setup option. However, the installer starts checking for all the prerequisites required for the installation of MySQL Database Server. If any required software component is missing then we will be presented with a screen showing the missing software components. This is the check requirement screen. Additionally, this screen shows us the list of available and missing software components. Here, the check requirement screen is given below.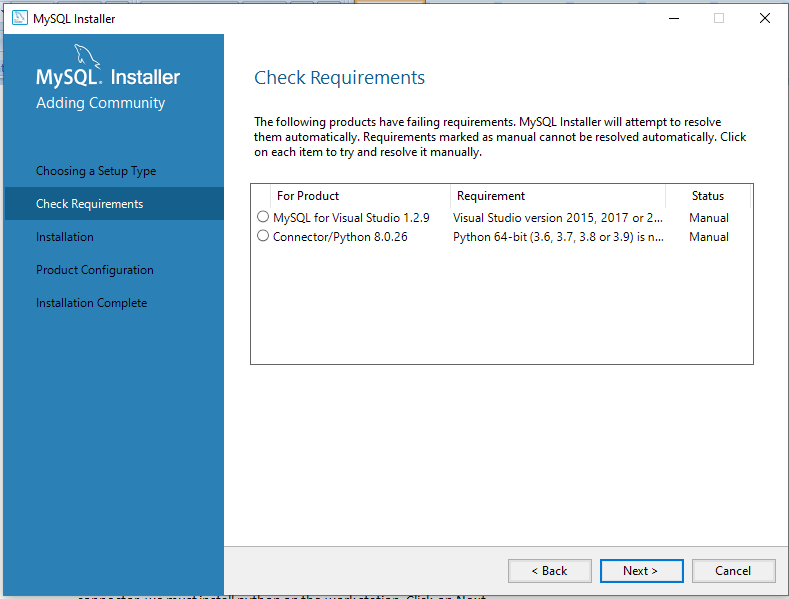
Here we can see that MySQL for Visual Studio 1.2.9 and Connection/Python 8.0.26 are the missing components and the status shows that we have to install these components manually. The download link for MySQL for Visual Studio 1.2.9 is given below. Download and install it. To install MySQL for Visual Studio 1.2.9 we will need to install Visual Studio 2015 or Visual Studio 2017 or Visual Studio 2019. This is the link to the manual page.
MySQL for Visual Studio 1.2.9Install Python 3.6 or the above version on your machine to install the python connector.
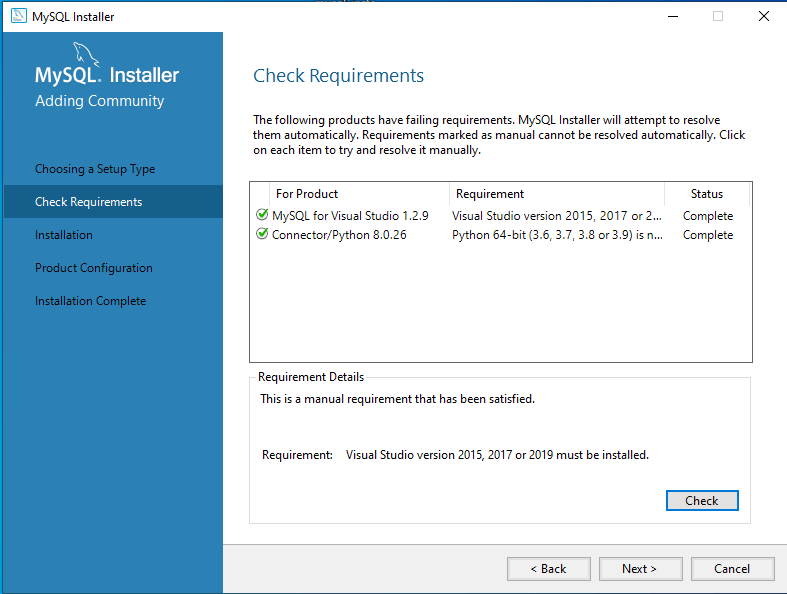
To install all these dependencies minimize the MySQL installer windows and install the dependencies then again continue the MySQL installation.
Check requirement screen after the installation of missing components
Start Installation
Now click next to move on to the next step. The next step presents the list of MySQL Database Server products which are ready for installation. The image is given below:
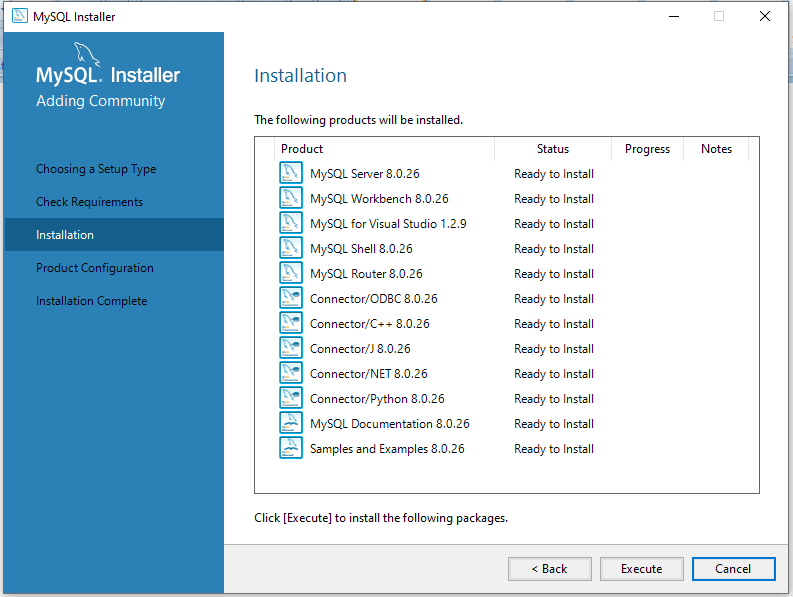
To install the products click on the Execute button and wait for the installation to complete. The installer will download and install the products in the list one by one.
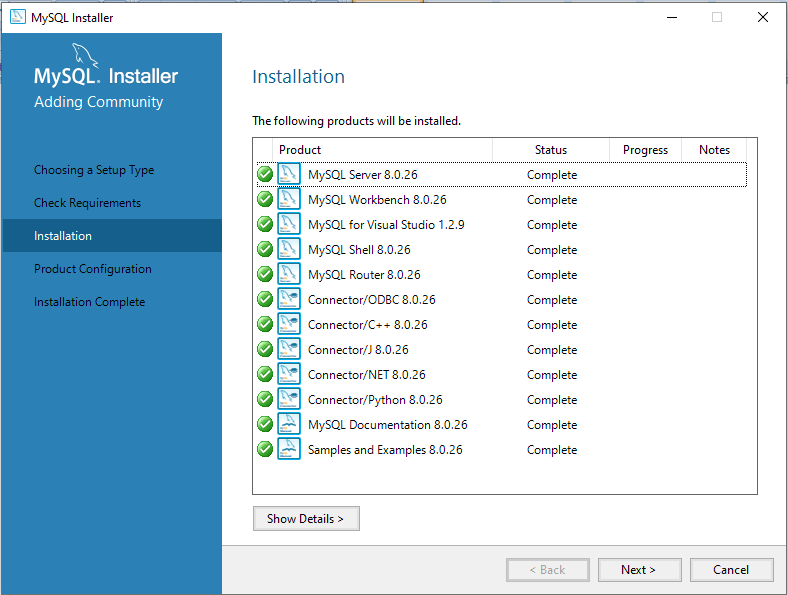
After the installation is complete the screen will be similar to the given below.
Product Configuration
Now Click on Next button to move on to the next step. The next page is product configuration page.
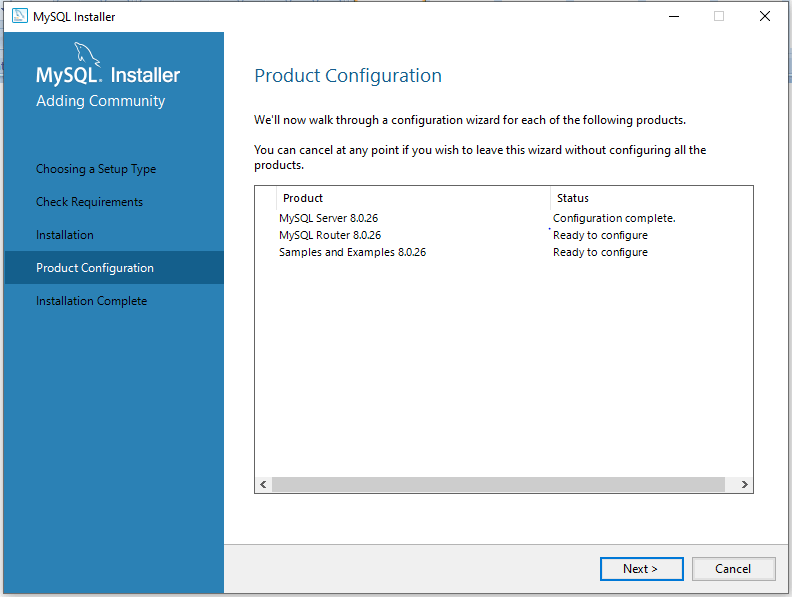
Types and Networking
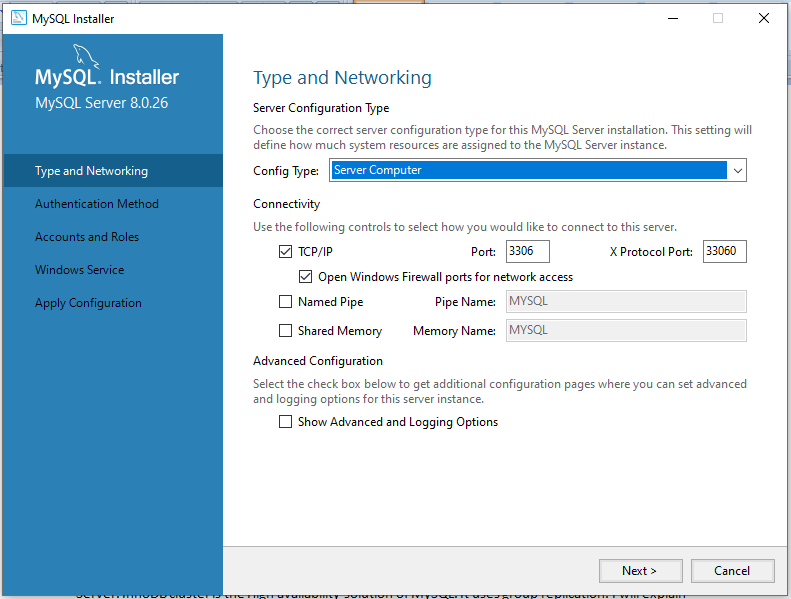
Click next button to move on to the next page. The next page is Type and Networking Screen. Here we have three predefined option for type to choose from:
The type of computer selected by us will determine that how much resource should be allocated to MySQL Services.
- Development Computer: For Development Computer minimal resources are allocated to MySQL Services.
- Server Computer: The configuration of Server Computer also uses minimal resources. This is best where database servers and web servers are on single computer. Here, average resources are allocated to MySQL Service.
- Dedicated Computer: The Dedicated Computer configuration allocates maximum resources to MySQL Service.
Here we will choose to install Development Computer. Therefore choose Development Computer from the drop down option.
Networking: In this option we have to choose how the database clients will connect to the database server. There are three options:
- TCP/IP Protocol
- Named Pipe
- Shared Memory
For Named pipe or Shared Memory option we have to provide a Pipe Name or Memory Name. Here we can also choose the default port to connect to the MySQL database server. Here, we can also allow the port number in the port textbox in the firewall.
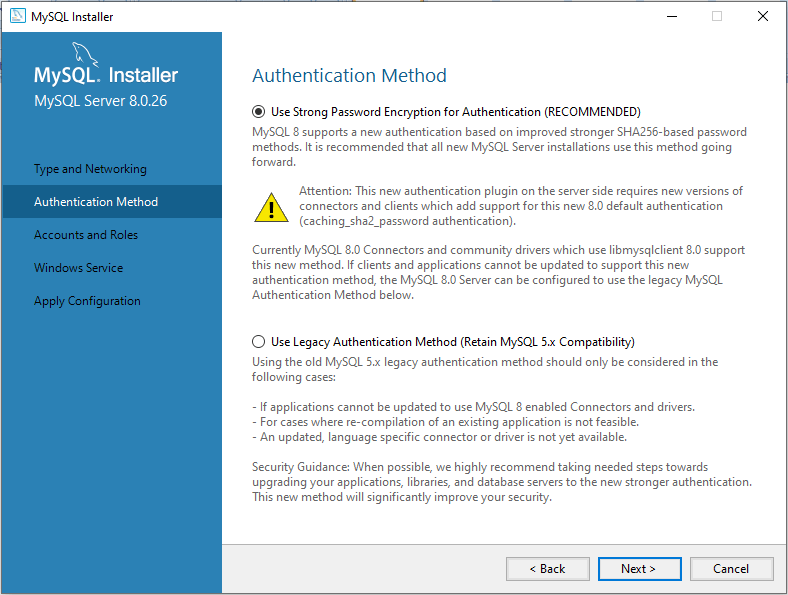
Authentication Method
Again select next button to move to the next step. MySQL 8 version uses SHA256 based passwords. Here, on the Authentication Method page, we can choose the Legacy authentication method or Strong password for authentication. Here we will use the Strong password Encryption method for Authentication. If required we can modify the password encryption method to legacy authentication later on after the installation.
Accounts and Roles
In the Accounts and Roles page, we will type the MySQL root account password. MySQL Root account is the default system administration account.
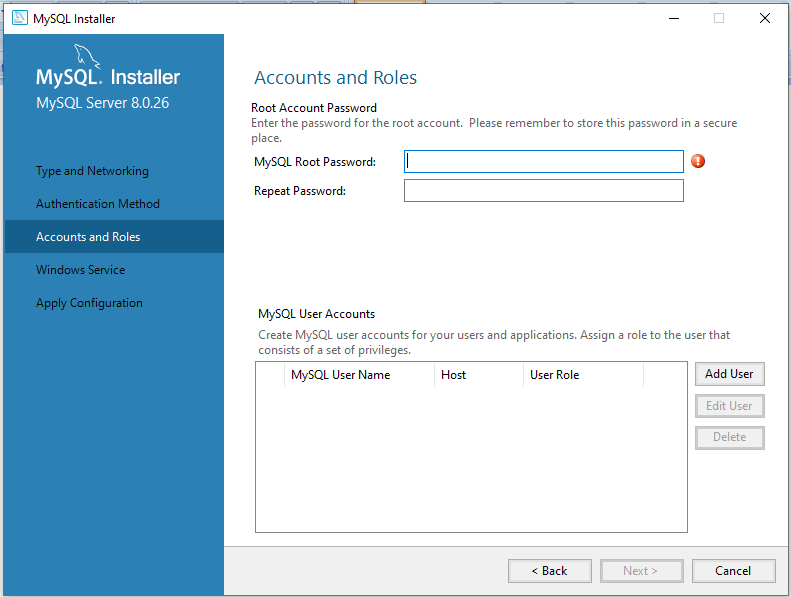
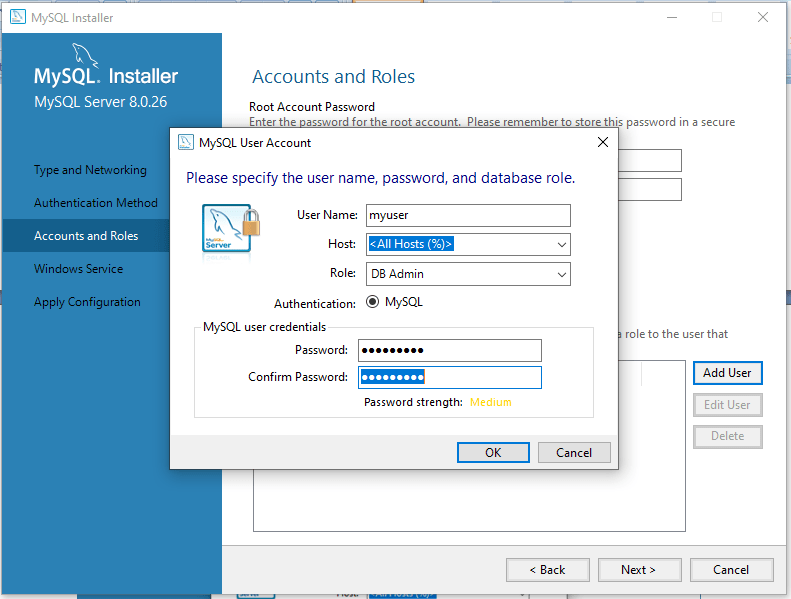
Here we can also create other users. For this we have to click on Add user. Then on MySQL User account box, type a username, hostname, Role of the User, type of authentication, and password. Now, once the user is created, click on Next button to move on to the next page. Add user screen is given below:
Windows Service
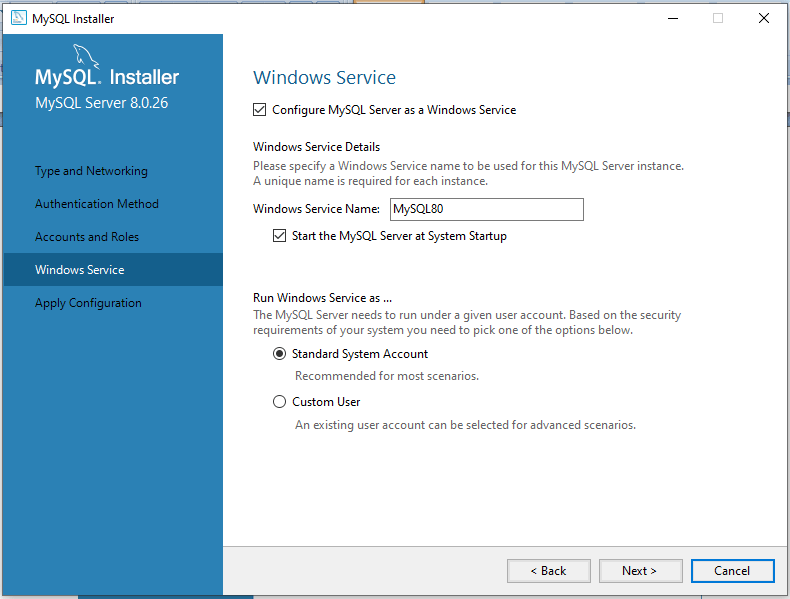
On the Windows Service page, we can choose to run MySQL server as a windows service. We can also give it our desired name. We can also configure the service to auto-start when the system boots. However, we can give credentials under which the MySQL Service is going to run. We can select the standard system account or we can choose a specific user.
Apply Configuration
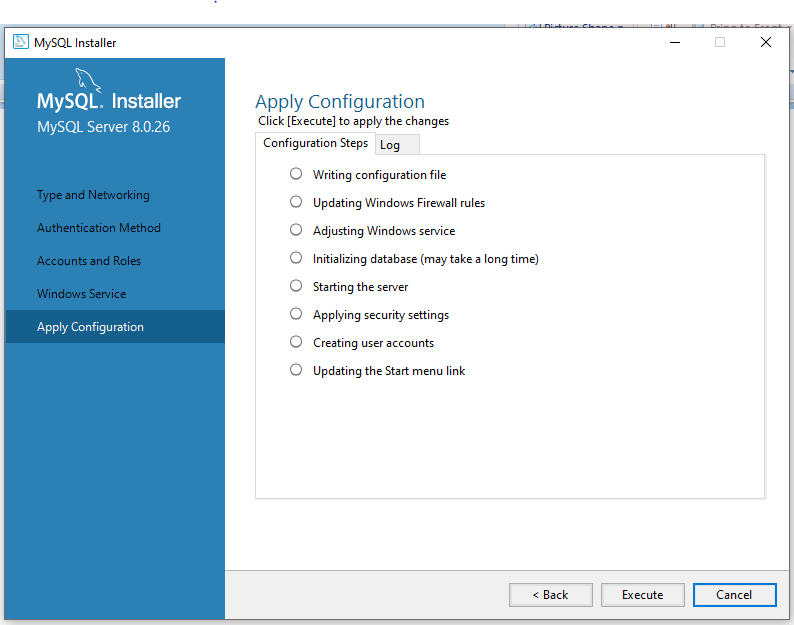
The next page is the Apply Configuration screen. However, on this page we can see the list of configuration steps that the installer is going to perform. See the steps once again and click on Execute button to proceed.
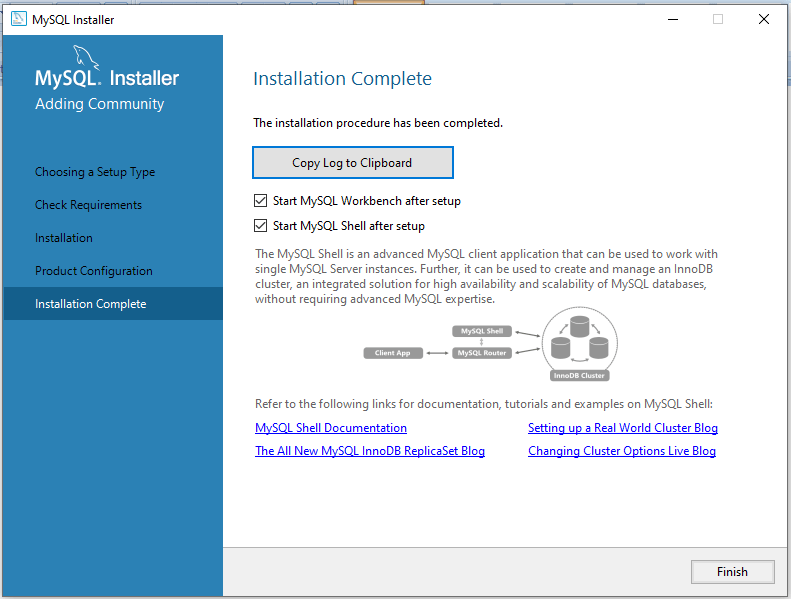
The next page will be the success message that the configuration of MySQL Server was successful. Now on this page click again the finish button. The installation of MySQL Server is now complete.
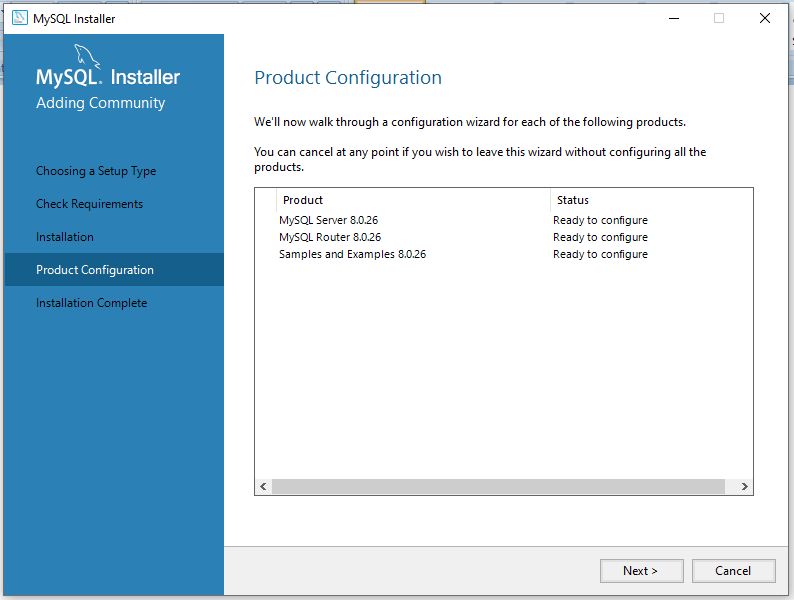
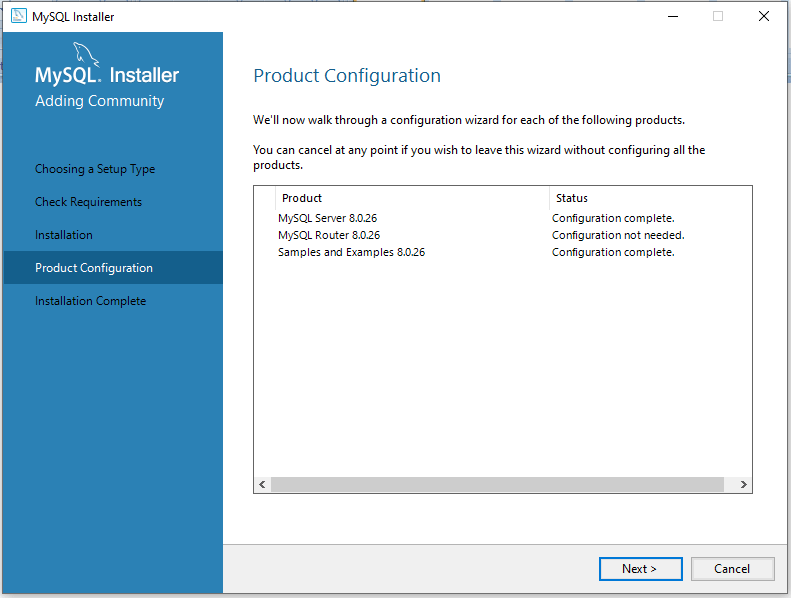
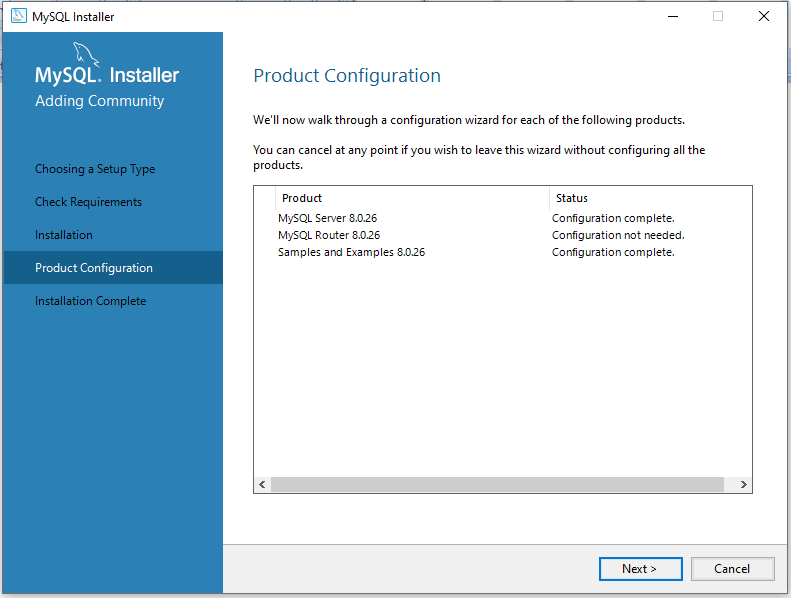
Now Product Configuration Page will appear. Just click next on this page.
MySQL Router Configuration
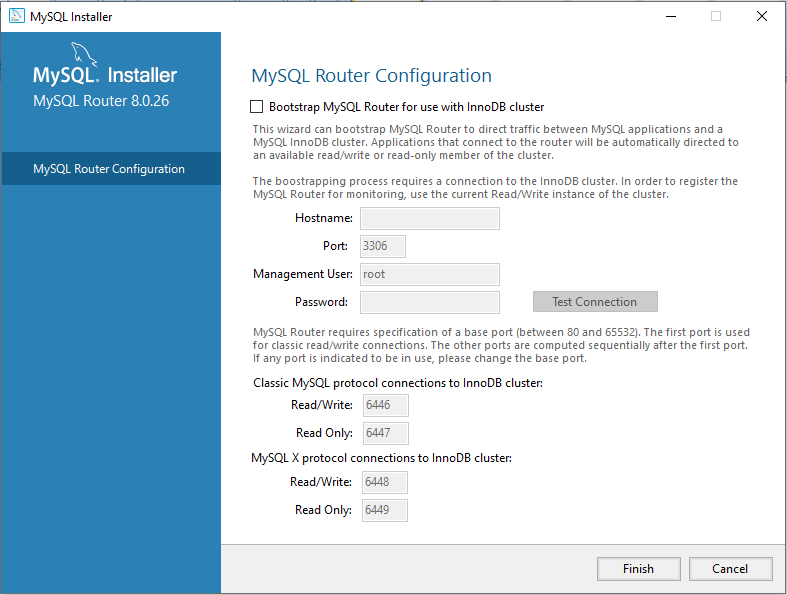
Now MySQL Router Configuration page will come. Click next button to proceed on to the next step.
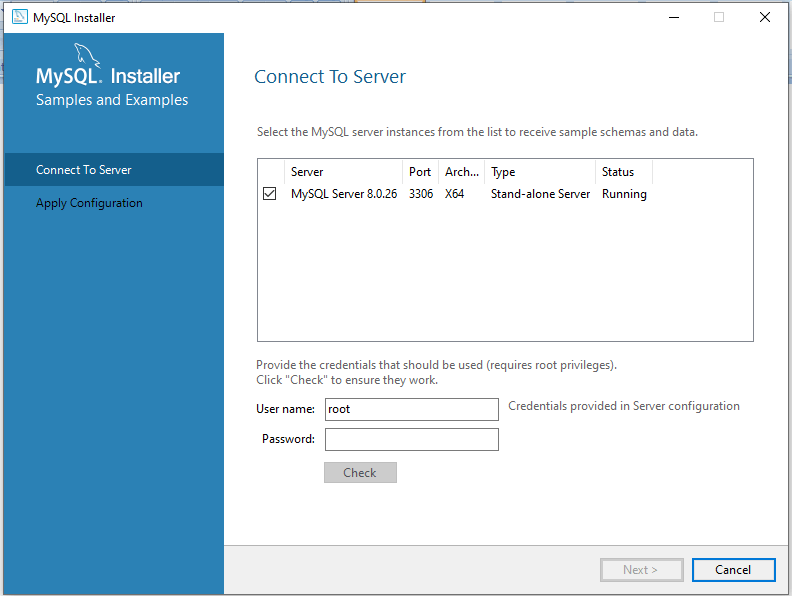
Now Samples and Examples page will appear as shown below. Click next to move on to the next step.
Test Connection to Server
The next screen is connecting to the server. Here we can provide sysadmin user name or the root user account name and password to check the connection to the MySQL Database Server. Check the connection and move on to the next page.
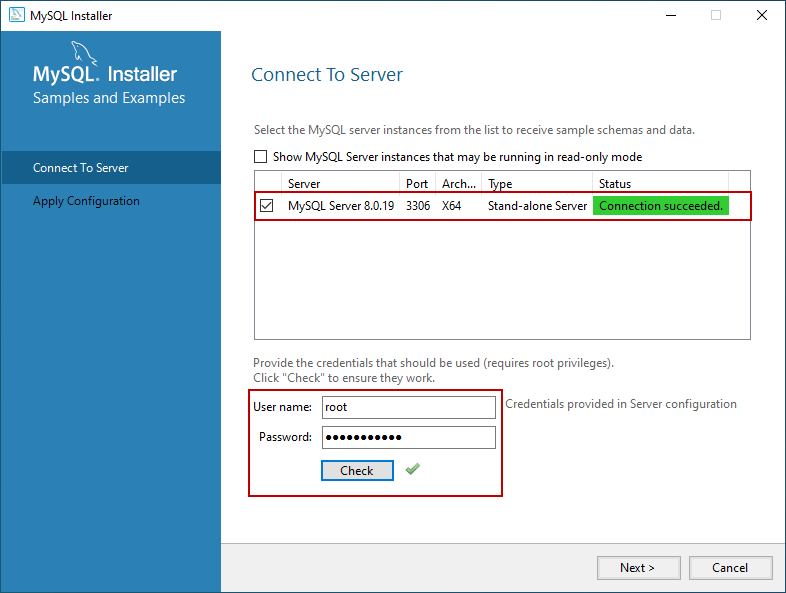
Further, type the correct password for the root account and click on the check button.
Further, the next page is applying configuration page. Click execute button to apply the configuration.
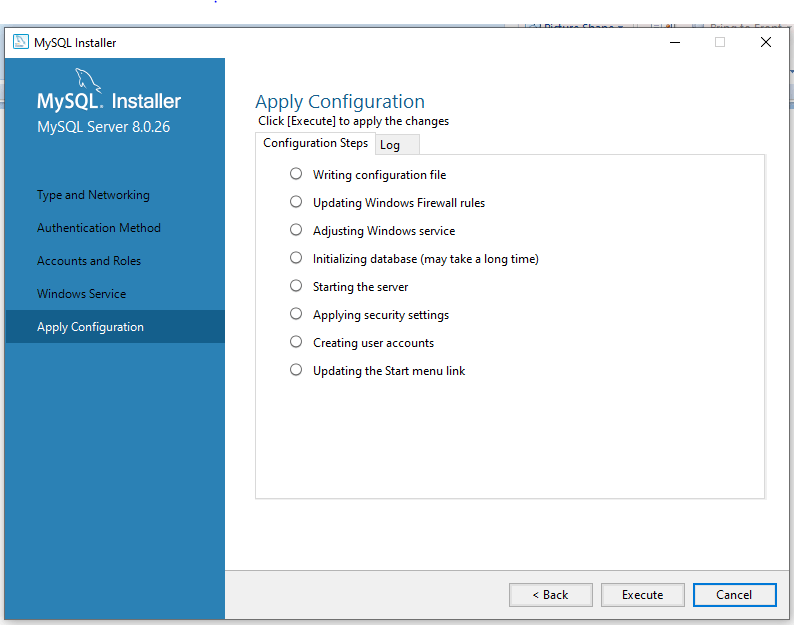
Additionally, click the execute button to apply the final configuration. After execute click the finish button.
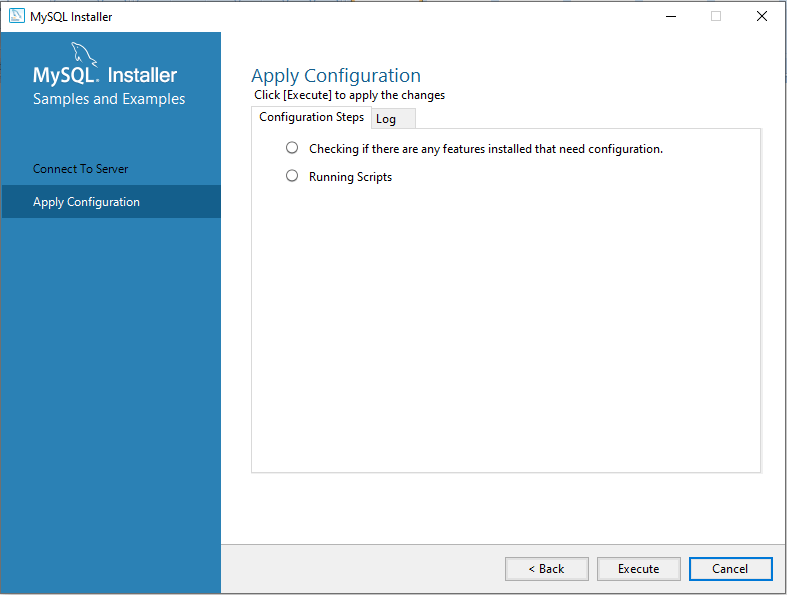
Additionally, the installer moves on to the Product Configuration screen. Next, the installation of the MySQL Server and Sample and Example is complete. The next screen is:
Furthermore, the installation is complete and the next screen is.
Connect to MySQL Server
Once the installation completes, let us connect to the server and execute the first MySQL Query. Open MySQL workbench.
However, on the MySQL workbench’s welcome page, we can see the connections to MySQL Database Server. As we do not have any connections on a fresh installation, therefore we can only see Local instance. Below given is the MySQL Workbench welcome page.
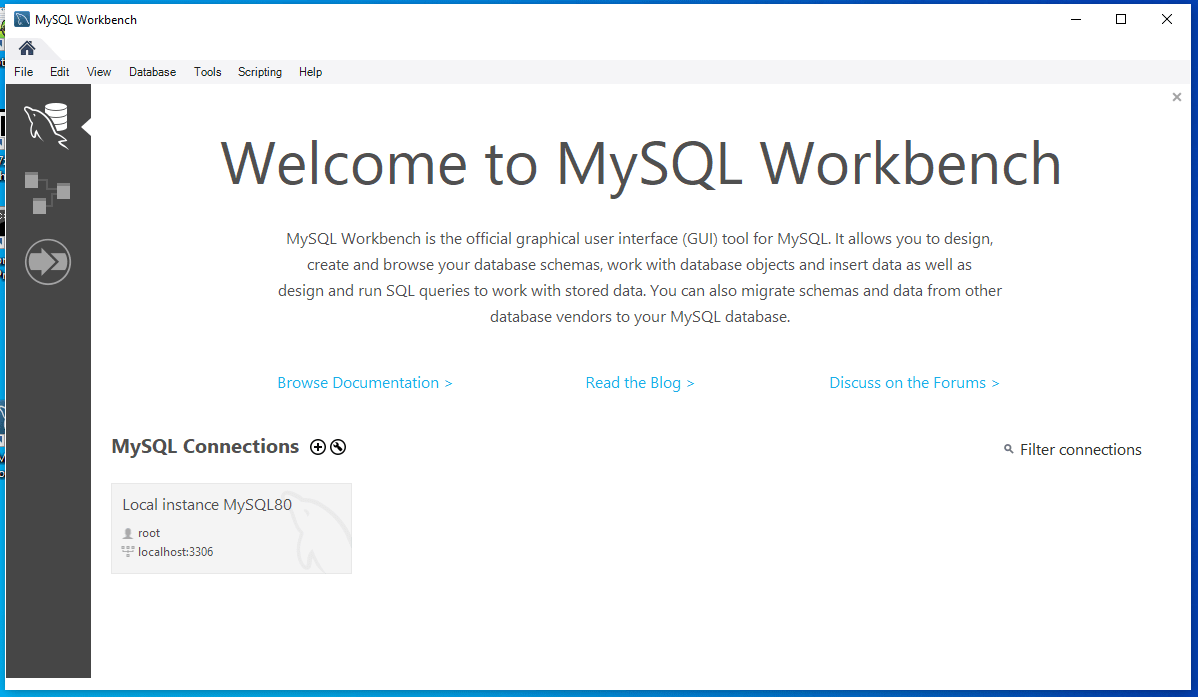
However, to connect to the MySQL Database Server, click on the MySQL connection. Additionally, this will prompt to enter root password for connecting to the database server. Next, enter the root password to log on to the server. The login page is:

Now Login to the Database Server. The next page of the MySQL Workbench is.
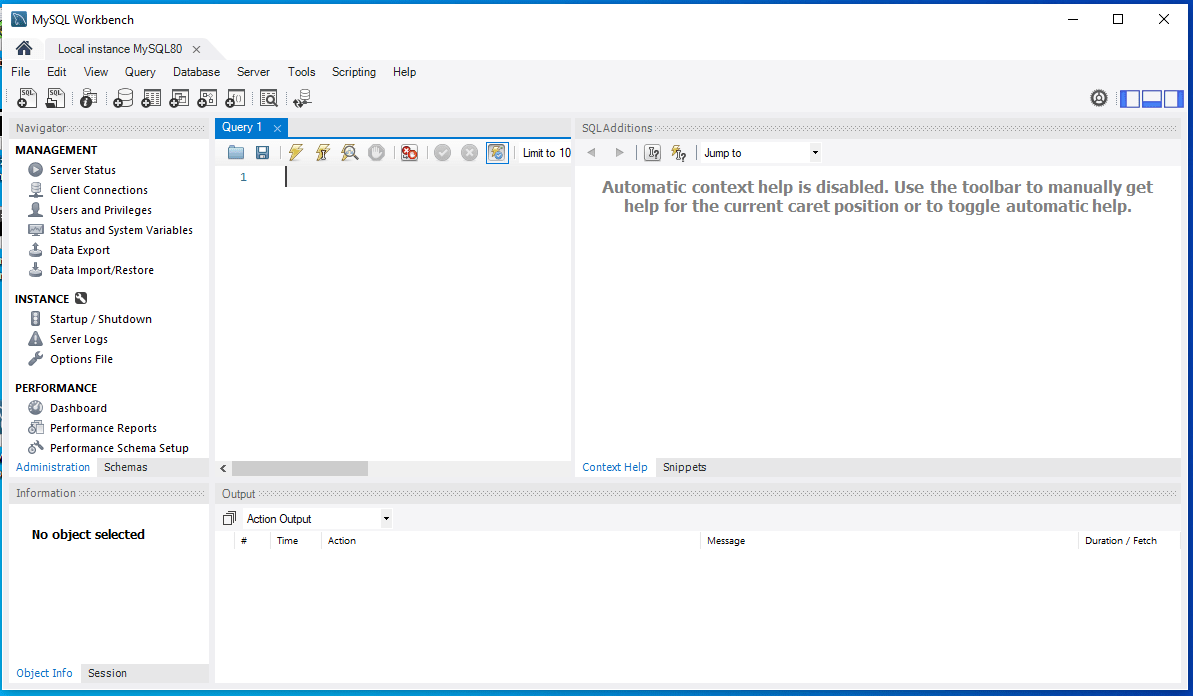
Now, using MySQL Workbench we can now manage databases and tables.

